
My Top 5 Real-Food Recipes for Fueling During Endurance Cycling Efforts

Are you tired of cardboard-tasting, pre-packaged bars? Dreading the thought of eating another waffle? Fed up with sugary gels and chews that taste artificial and lead to gastrointestinal distress?
If you’re looking for more natural and real food options to fuel your efforts that are easier on your gut and your wallet, you’re in the right place. Let’s keep reading.
When it comes to fueling for endurance cycling, real food options offer many advantages over pre-packaged, processed alternatives. Fueling with real food often leads to improved digestion, higher nutrient density, and a more sustained release of energy—crucial for long endurance rides.
Real food snacks are more easily recognized and processed by our bodies, reducing the risk of gastrointestinal issues during intense efforts. Additionally, the complex carbohydrates found in real food provide a steady stream of energy, helping you maintain performance over extended periods.
As an endurance cyclist who has competed in several long-haul endurance events like the Firecracker 50 (three times), MDH150, DAMn, Co2Ut, and Breck Epic 6-Day Stage Race (twice), I can say that real food has been a game changer for both my gut and my morale.
In this post, I share the benefits of fueling endurance efforts with real food, how much to eat during an effort, and my top 5 real-food recipes for fueling during endurance activities. These recipes are great options to consider for training rides or races lasting 2-3 hours or longer.
Benefits of Fueling with Real Food
1. You get to control what ingredients you put into your body - When you prepare your own cycling snacks, you have complete control over what goes into them.
2. Real foods can be easier to digest - Opting for real foods, especially those with higher water content, can significantly improve digestion during your rides.
3. Homemade is most cost-effective - Making homemade cycling snacks can be 3-5 times more cost-effective than buying pre-packaged ones!
4. Better for the environment and local business - Choosing homemade foods over pre-packaged options can significantly reduce your environmental impact. Moreover, sourcing ingredients locally for your homemade snacks supports local businesses and reduces the carbon footprint associated with food transportation.
5. Homemade food is more than just fuel - When athletes prepare their own food, they develop a deeper connection to their nutrition. This mindfulness can lead to better food choices and a more positive relationship with eating for performance.
Read more about these 5 Rad Reasons for Cyclists to Fuel Their Rides with Real, Homemade Food
How Much To Eat During an Endurance Cycling Effort?
When it comes to my nutrition strategy, I like to keep food separate from hydration. The amount of food consumed varies based on individual needs and ride intensity. As a general guideline, aim for 30-60 grams of carbs per hour during endurance efforts. Although, those ranges can get to as high as 90 grams of carbs per hour, depending on the duration and intensity of the ride and how adaptable your gut is. Below are some more specific guidelines on how much to eat during an endurance cycling effort.
Workouts/races longer than 90 minutes with low-to-moderate intensity: take in 60g of carbs per hour of training, DURING training. That means that during a 2-hour ride, consume 120g of carbs.
Workouts/races longer than 90 minutes with high intensity: work up to taking in 90g of carbs per hour during training. Key words: work up to. Your gut is adaptable and can be trained, but it takes time.
Aim to replace 40-50% of the calories you burn in an hour with mostly carbs. For any ride over 3 hours, make sure to eat 5-10g of protein per hour to help with hunger prevention.
During the ride, start fueling within the first hour and continue eating at regular intervals, for example, every 15-30 minutes, to provide a steady stream of energy to your body throughout the ride.
Below are 5 of my favorite real-food recipes for fueling endurance efforts.
1. Banana French Toast Cakes
Combines quick-digesting carbohydrates from the banana and white bread for a quick energy boost, with a satisfying, soft, and easy-to-eat and chew texture.

Makes 12
10 minutes prep, 15-20 minutes to bake
Ingredients
4 cups cubed white bread tightly packed (french, sandwich, or sourdough)
1 cup unsweetened almond milk (substitute milk of choice)
3 eggs
2 ripe bananas
¼ cup maple syrup
¼ cup unsweetened orange juice
2 tsp vanilla extract
3 Tbsp all-purpose flour or gluten-free 1:1 flour
2 tsp ground cinnamon, plus more for sprinkling
Dash of ground nutmeg
Coconut sugar for sprinkling on top
Directions
Preheat the oven to 350°F. Line or lightly grease a 12-bar or 12-cup muffin pan.
Add cut and cubed bread to a large mixing bowl. Heat almond milk in the microwave on high for 1½ minutes in a large measuring cup. Then add the eggs, bananas, maple syrup, orange juice, vanilla, flour, cinnamon, and nutmeg. Beat the mixture until the eggs become light in color.
Add egg mixture to the bread bowl and stir to coat the bread pieces fully. Let rest for 5 minutes.
Spoon batter into the bar or muffin pan tin. Top each cake with a sprinkle of extra coconut sugar and cinnamon. Bake for 15-20 minutes or until a toothpick inserted comes out clean.
Let cool. Store in an airtight container in the fridge or individually wrap and refrigerate or freeze until your next ride.
More Bread Cake Recipes: Apple French Toast Cakes and Chocolate Banana Date Cakes
2. Packable Sweet Potato Pancake Sandwiches
Provides long-lasting energy with complex carbs from sweet potatoes and a touch of sweetness, perfect for sustained rides. Add in your choice of favorite fillings (jams, cream cheese, nut butter, fruit) to prevent palate fatigue.


Makes 24 portable pancakes or 12 sandwiches
10 minutes prep, 12-15 minutes to bake
Ingredients
1 cup cooked sweet potato (about 1 medium-sized sweet potato)
3 eggs
1⅓ cups unsweetened almond milk
4 Tbsp melted coconut oil or unsalted butter
2 cups whole wheat pastry flour (substitute all-purpose flour)
2 tsp baking powder
2 tsp ground cinnamon
½ tsp fine sea salt
¼ cup coconut or brown sugar
Directions
Preheat the oven to 350°F. Prepare 2 (12-cavity) whoopie pie pans. (If you don’t have whoopie pie pans, simply make these pancakes on the stovetop or an electric griddle)
Mash sweet potato with a fork until smooth in a large mixing bowl. Then add the eggs, milk, and coconut oil or butter and stir until well combined.
In a separate bowl, whisk together flour, baking powder, cinnamon, sea salt, and sugar.
Add the dry ingredients to the wet ingredients bowl, and mix until just combined (make sure not to overmix, a few lumps in the batter are okay!). Let the batter rest for 10 minutes.
Scoop 1 Tbsp of batter into each whoopie pie tin. Bake for 12-15 minutes, or until the batter is set, the tops are lightly browned, and the edges of the cakes start to pull away from the pan. Let cool for 5 minutes before removing from the pan.
When ready to pack for a ride, grab 2 pancakes and fill them with your favorite spreads. Wrap in Skratch Paper or parchment-lined aluminum foil.
Store leftover pancakes in the freezer until you’re ready for your next packable sandwich.
Filling Ideas
Blueberry Lemon Chia Jam + cream cheese
Applesauce Butter + diced apple
Marshmallow fluff
Nut butter + banana slices + honey
Per 2 pancakes: 210 calories, 31g carbs, 8g fat, 6g protein (fillings not included)
Baker’s Tip
Whole wheat pastry flour is made from soft white wheat, which is softer than all-purpose flour. This flour helps create tender baked goods. If you don’t have this flour on hand, you can use 1 cup all-purpose flour and 1 cup whole-wheat flour (made from hard red wheat).
3. Customizable Coconut Rice Cakes
Easy to digest and rich in quick-burning carbs, with added customization options for flavor and nutrients. Packs and holds extremely well while in your back pocket or snack bag.

Makes 16 rice cakes
5 minutes prep + time for refrigerating, 20 minutes to cook
Ingredients
3 cups water
2 cups dry Calrose or sushi rice
½ tsp fine sea salt
2 Tbsp coconut sugar
2 Tbsp coconut oil
1 tsp vanilla extract
¾ cup creamed coconut or coconut butter
Customize Your Rice Cakes
Chopped crystallized ginger + fresh chopped blueberries
Cashew pieces + chopped Medjool dates + ground ginger
Toasted almond slices + cacao nibs + flaky sea salt
Fresh raspberries + lime zest + finely chopped mint
Diced dried apple + ground cinnamon + lemon juice
Directions
Combine water, rice, coconut sugar, coconut oil, and vanilla in a rice cooker. Let cook. Once the rice is finished cooking, add coconut cream or butter directly to the warm rice and stir until fully melted. Add your custom ingredient additions and stir gently until combined.
Once the rice is cooled to room temperature, spoon it into a large zip-closure freezer bag. Flatten evenly by placing a cutting board on top and pressing down firmly with your hands. (Leave a small opening in the bag to squeeze out the excess air.) Leave to cool at room temp. Once cool, transfer to a flat spot in the refrigerator and let set for at least 8 hours or overnight.
Take rice out of the fridge. Cut the 3 sides of the plastic bag with a knife or scissors and remove the rice slab from the bag. Place it onto a cutting board and cut into approximately 16 squares.
Store rice cakes together in an airtight container or individually wrap them in Skratch Paper or parchment-lined aluminum foil. They’ll keep in the fridge for 3-4 days.
Per 1 Rice Cake: 210 calories, 29g carbs, 9g fat, 3g protein (does not include add-ins)
Looking for something on the savory side? Try this Umamai Rice Cake recipe (# 5 in the post).
4. Portable Strawberry Banana Smoothie
Hydrating and refreshing with natural sugars from fruit. Rice and banana provide a quick, yet sustained energy boost. Easy to pack and carry using a reusable baby food pouch, plus, it saves on the environment!
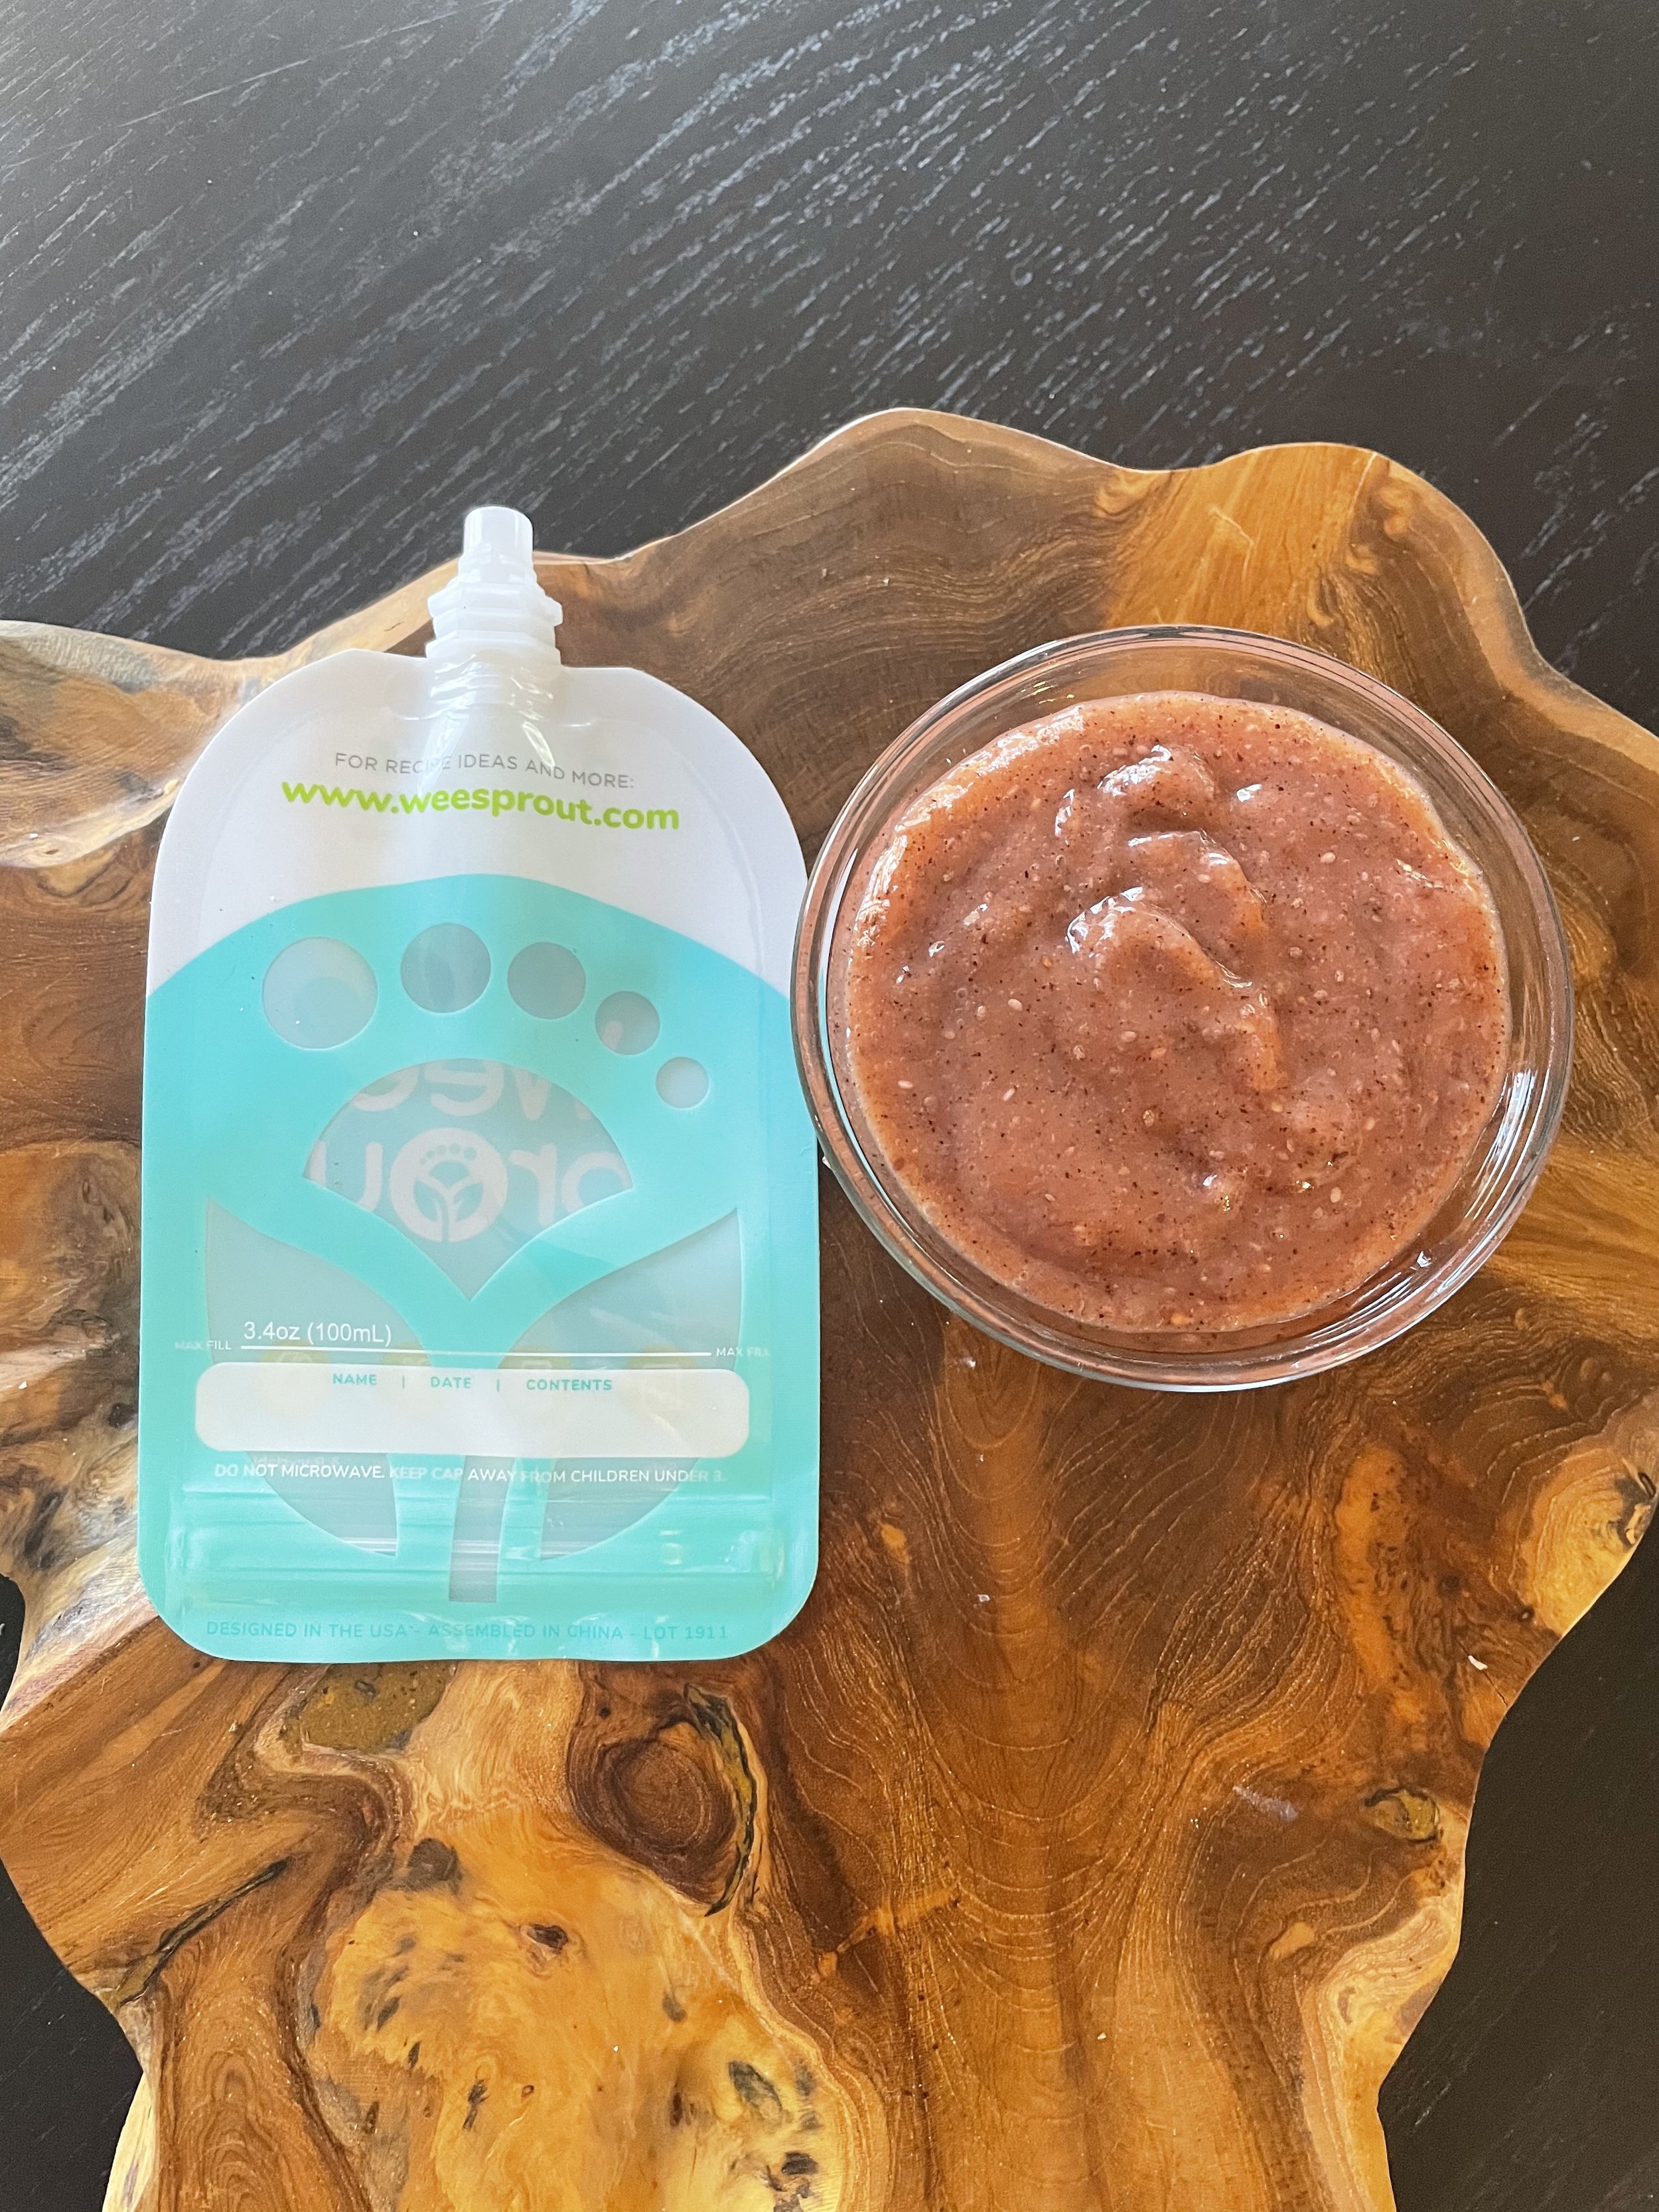
Makes 1 (3.4-oz) pouch
5 minutes
Ingredients
⅓ cup cooked Calrose or sushi rice
½ ripe banana
5 strawberries hulled
1 Tbsp pure maple syrup
1 tsp fresh lemon juice
2-3 Tbsp water
A pinch of fine sea salt
Per 1 (3.4oz) pouch: About 200 calories, 49g carbs, 2.6g protein, 0.6g fat
Directions: Blend the squeeze ingredients together in a high-speed blender. Pour contents into a reusable baby food pouch like WeeSprout for easy slurping while on your bike.
Find 6 more DIY homemade energy gels and squeezes in this post.
5. Date and Pecan Coffee Bread
Delivers a light caffeine boost from coffee and natural sugars from dates for a steady energy release, with pecans for added healthy fats and hunger presentation. Wraps, packs, and holds its shape extremely well.


Makes 1 loaf or 14-16 slices
10 minutes prep, 50-60 minutes to bake
Ingredients
Bread
2 cups pitted and chopped Medjool dates (about 20)
4 Tbsp unsalted butter, at room temperature
1 tsp baking soda
½ tsp fine sea salt
⅔ cup coconut or light brown sugar
1 cup hot brewed coffee
1 egg
1 tsp vanilla extract
½ tsp baking powder
1 tsp espresso powder (optional)
1¾ cup all-purpose flour (substitute 1:1 gluten-free flour)
¾ cup coarsely chopped pecans
½ cup dark chocolate chips (optional)
Topping
3 Tbsp rolled oats
1 tsp extra virgin olive oil
1 tsp maple syrup
Directions
Preheat the oven to 350°F. Lightly grease a 9 x 5-inch bread loaf pan.
Add the dates, butter, baking soda, sea salt, and sugar in a large mixing bowl. Pour the hot brewed coffee into the bowl and stir. Allow the mixture to cool for 15-20 minutes, then mash dates with a fork or potato masher.
Add the egg, vanilla extract, baking powder, and flour to the date bowl. Beat gently until smooth. Stir in the chopped pecans and chocolate chips.
Pour the batter into the pan, gently drop the pan on the counter to settle the batter.
Meanwhile, combine the Topping ingredients in a small bowl and stir to combine. Sprinkle on top of the bread loaf.
Bake the bread for 50 to 60 minutes. Loosely cover with foil after 30 minutes of baking to prevent over-browning. To check for doneness, remove the bread from the oven; a cake tester or toothpick inserted into the center should come out clean.
Let cool for 10 minutes, then turn the bread out of the pan onto a rack to a cooling rack. (using a rubber spatula to remove the bread can help!) Let cool completely before slicing.
Wrap the loaf in an airtight container or plastic wrap, and store at room temperature for several days, or freeze individual slices for longer storage.
Want more quick bread recipes like this? Check out the recipe for A Cyclist’s Favorite Banana Bread
Bonus Recipe! The Ultimate Cycling Ride Pie
This recipe combines the convenience of slide bread with a customizable filling for balanced energy, offering carbs and nutrients in a compact, easy-to-carry package. Perfect for quick bites during a ride!

Makes 1 pie
Time 3 minutes prep, 10-15 minutes to bake
Ingredients
2 slices of soft white bread (I love Dave’s Killer White Bread)
1 heaping Tbsp of filling (jam, nut/seed butter, cream cheese, or chopped fruit)
Melted unsalted butter or coconut oil
Directions
Preheat the oven to 350°F and line a 9 x 13-inch quarter sheet pan with parchment paper.
Add a heaping spoonful of filling to 1 piece of bread. (If using a drinking glass to cut your pie, brush water around the edges to help seal it.) Top with the other slice of bread.
Use a sandwich cutter to cut and seal your pie. Or, if using a rimmed glass or mason jar, press the 2 crusts together to cut your pie. Seal the edges with your fingers.
Brush the top of your pies with melted butter or coconut oil and place it on a parchment-lined baking sheet.
Bake for 10-15 minutes or until bread is toasted and golden brown on top. Wrap in Skratch Paper or parchment-lined aluminum foil and grab it when ready to ride with your pie.
Get More Real-Food Recipes Crafted for Cyclists
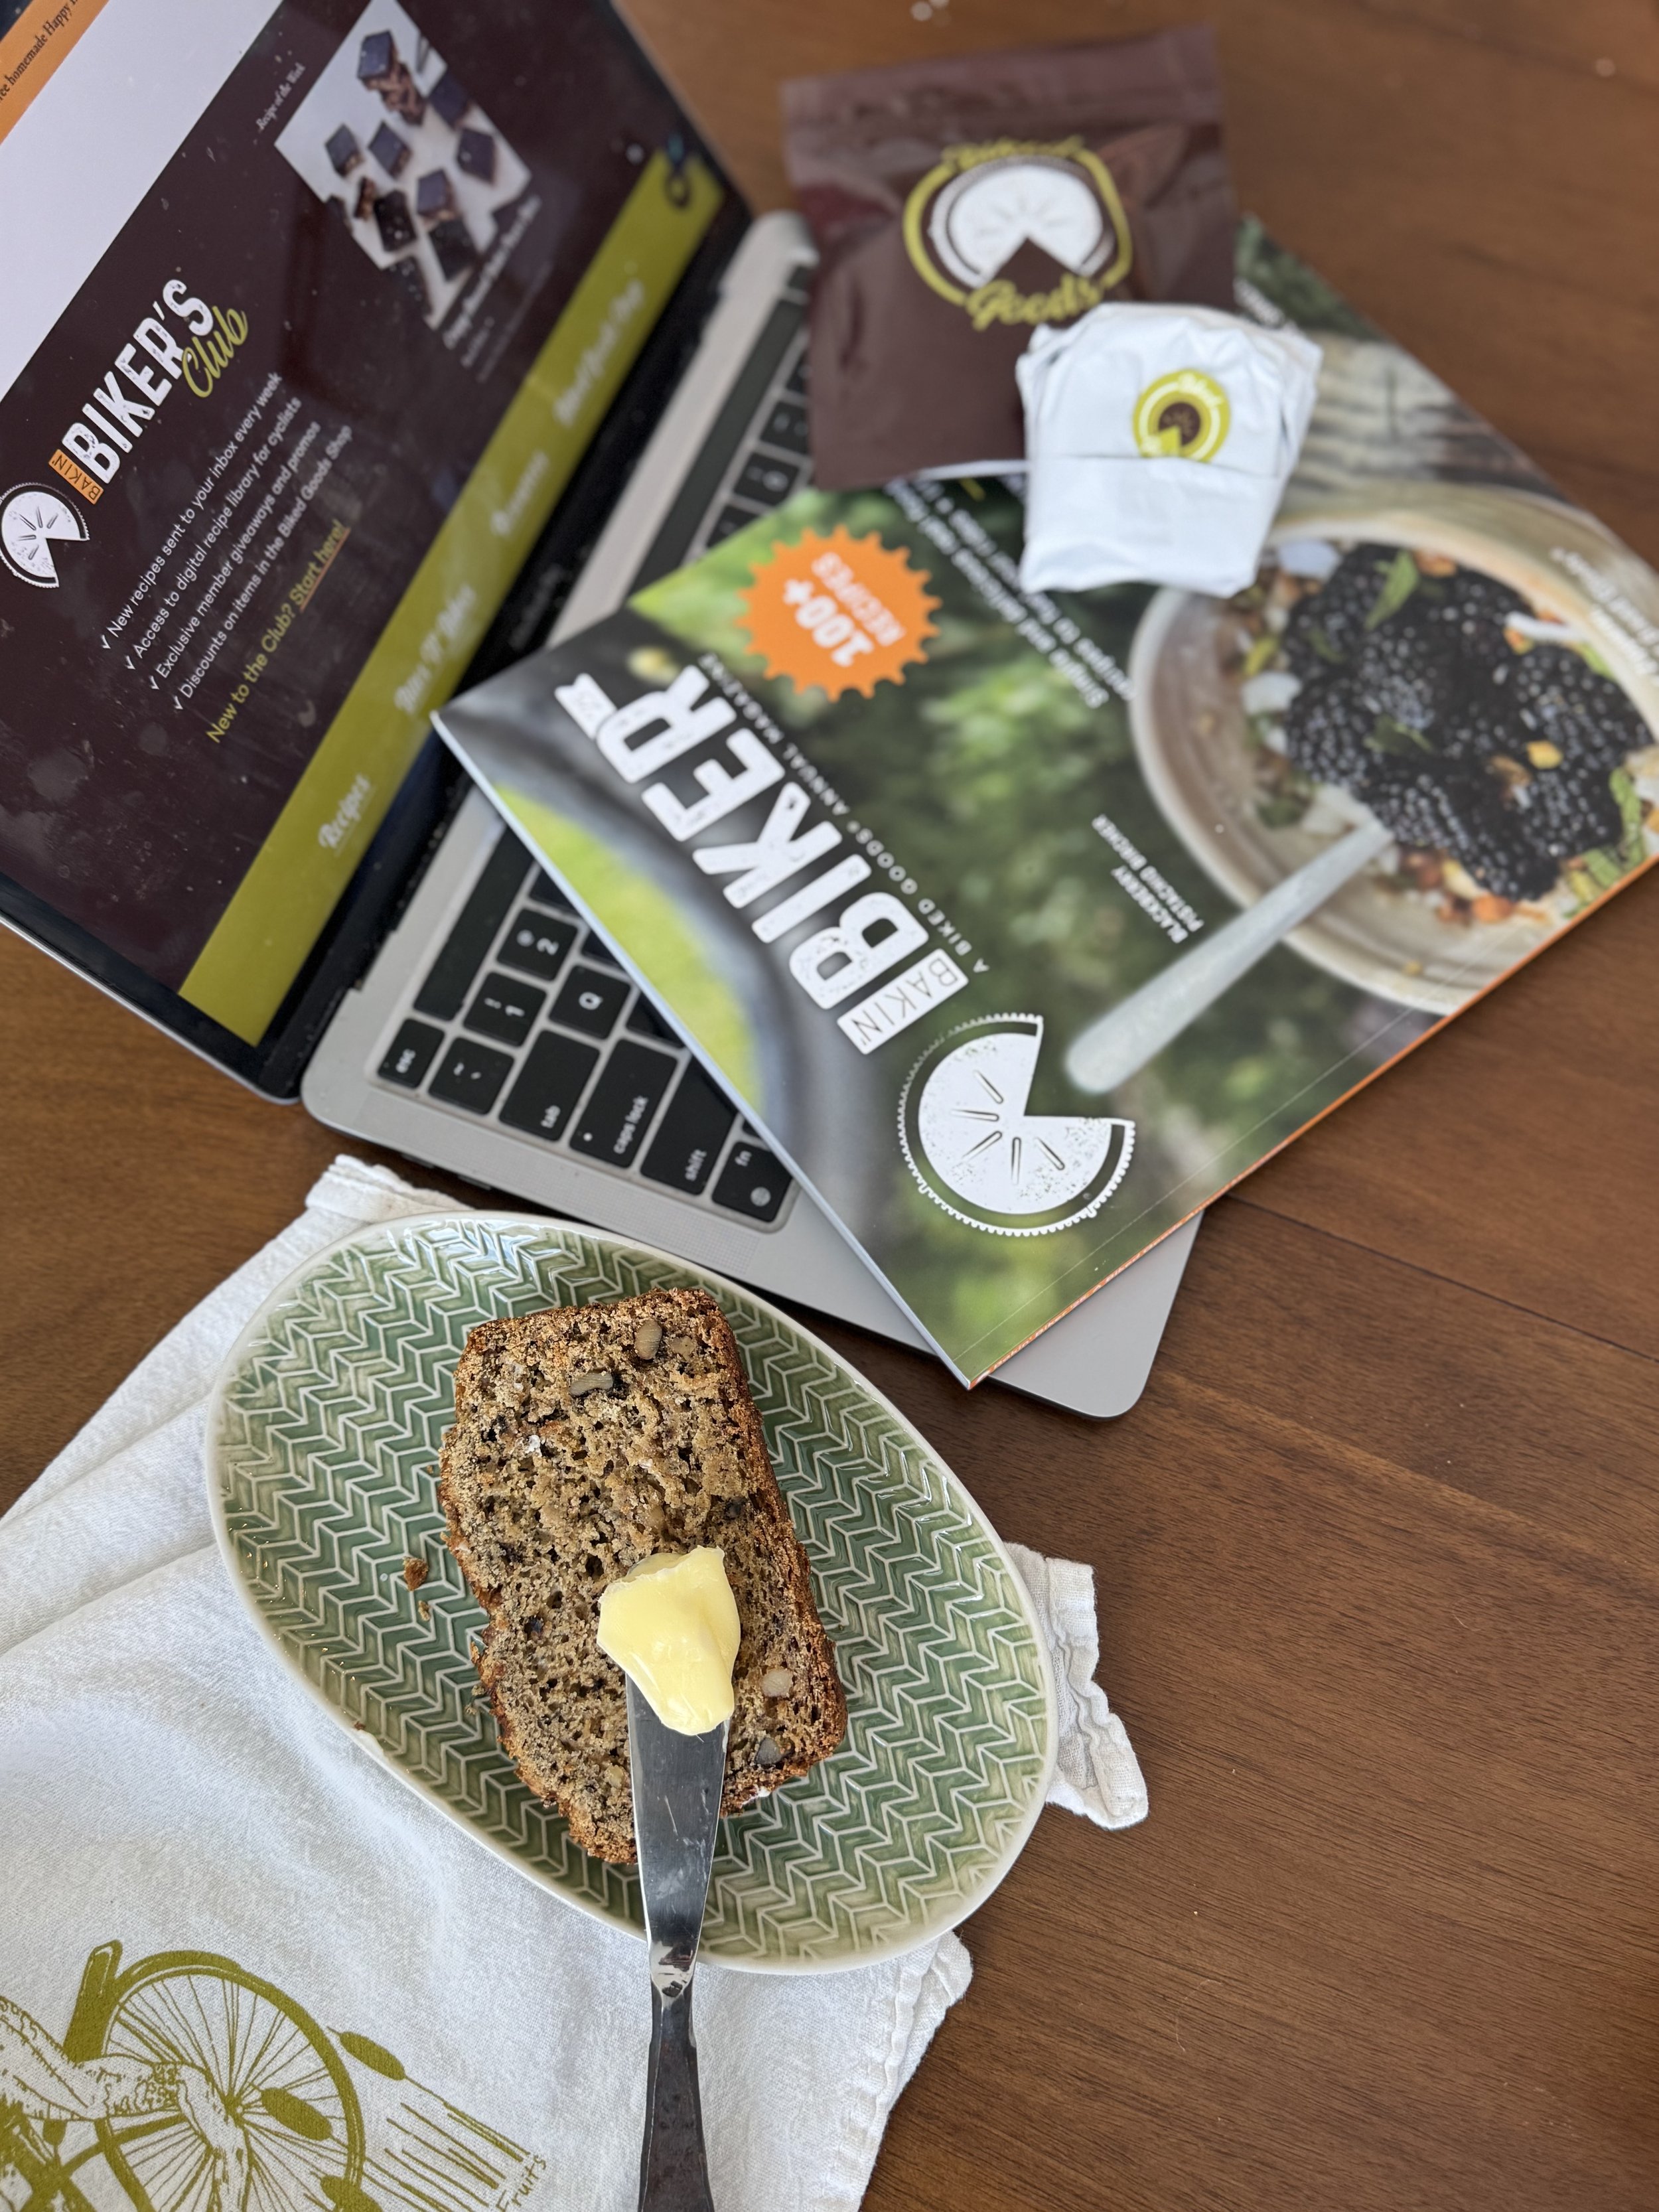
Want more cycling-specific recipes to fuel your rides? Join the Bakin' Biker's Club for a treasure trove of nutritious and delicious recipes designed to enhance your cycling performance. Don't miss out on these energy-boosting culinary creations!
Bakin’ Biker’s Club Free Member Benefits
✓ New, fresh-baked real-food recipes every week!
✓ Instant access to digital recipe + nutrition library
✓ Portable Snack e-recipe book 2025 edition
✓ 10% off Biked Goods products
✓ Eligible for quarterly giveaways, rewards, and promotions
More Fuel From Biked Goods
For more cycling nutrition tips and recipes, start a free Bakin’ Biker’s Club membership, or check out more nutrition and baking tips below.

Bakin’ Biker ‘25 Cookbook
The 2025 edition of Bakin’ Biker is loaded with over 100 simple-to-prepare, energizing, and downright delicious real-food recipes designed for busy cyclists on the go.