5 Rad Reasons for Cyclists to Fuel Their Rides with Real, Homemade Food
As cyclists, we're constantly seeking ways to optimize our performance and overall well-being. One often overlooked aspect is the quality of fuel we put into our bodies. While pre-packaged energy bars and sports drinks may seem convenient, there's a compelling case for choosing real, homemade foods to power your rides. Let's explore why making your own cycling fuel can be a game-changer for your performance, health, and enjoyment on the bike.
1. You Get To Control What Ingredients You Put Into Your Body
When you prepare your own cycling snacks, you have complete control over what goes into them. Many pre-packaged energy bars contain unrecognizable ingredients that may not contribute positively to your health or performance. For example, artificial preservatives like butylated hydroxyanisole (BHA) and butylated hydroxytoluene (BHT) are common in processed foods but have been linked to potential health risks.
Instead, consider making your energy bars with simple, wholesome ingredients. Basic energy bar ingredients might include:
White rice, all-purpose flour, sliced white bread, or cereals for simple carbs
Rolled oats, sweet potatoes, or quinoa for complex carbohydrates
Nuts or seeds for healthy fats and protein
Dried fruits or jams for natural sweetness and quick-acting carbs
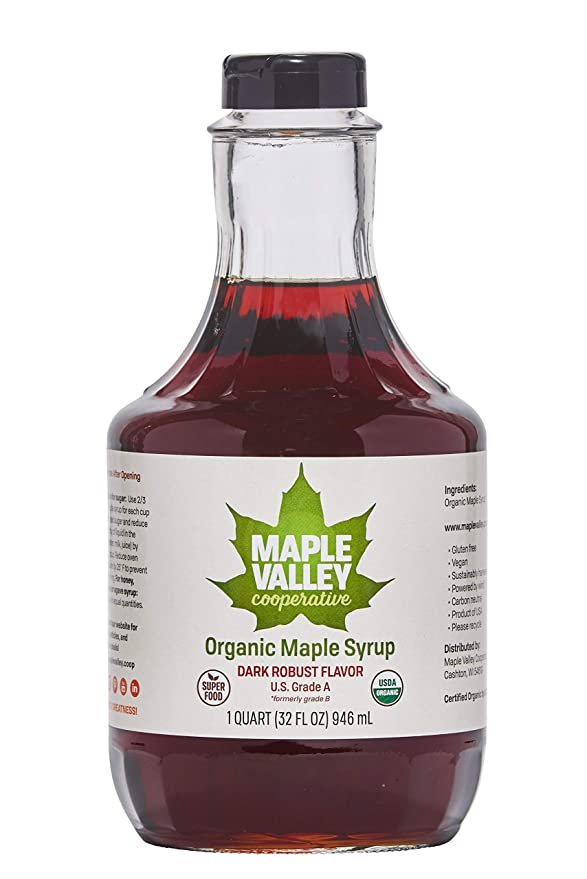
Honey, maple syrup, or Medjool dates as a natural binder and energy source
Spices like sea salt, ginger, cinnamon, or cardamom, for flavor and to help support digestion and reduce inflammation.
Choosing these ingredients ensures that every bite contributes to your nutritional needs without unnecessary additives.
Find a list of my favorite pantry ingredients to help you make homemade energy bars.
2. Real Foods Can Be Easier To Digest
Opting for real foods, especially those with higher water content, can significantly improve digestion during your rides. Scientific research supports this, showing that water-rich foods are generally easier on the digestive system. (think white rice, bananas, sweet potato, eggs, plant-based milk, sandwiches with jams)
To increase the shelf-life of pre-packaged foods, many manufacturers suck the water out of them to prevent or slow spoilage. The result when you eat them? A brick sitting in your stomach. Homemade foods naturally contain more water content than prepackaged foods, which can make it easier for your body to digest them. Happy gut = happy ride.
Another benefit of eating real food during your rides comes down to a natural process the body goes through to help you chew, swallow, and digest your food: Saliva. When your body knows real food is coming, your mouth starts to salivate. Saliva helps lubricate each mouthful of food, and its enzymes such as amylase and lipase kickstart the process of digestion.
What happens when you opt for a gel? Your body often bypasses this process, as it does not recognize manufactured gels as food. This is often why you see these gel brands require that you drink water with them, otherwise you'll end up with a sugar bomb sitting in your gut.
"While pre-packaged foods like bars, gels, and chews are convenient and tout performance, it’s important to realize that real food can work just as well if not better than engineered nutrition and is likely going to be easier to digest. As a general rule, sports nutrition should come from your kitchen, not just from a package. Take the time to prepare delicious, high-carb meals and snacks that you will look forward to eating." Dr. Allen Lim, Skratch Labs
3. Homemade Is More Cost-Effective
Making homemade cycling snacks can lead to significant cost savings over time. Let's compare the cost of homemade energy bars to store-bought options:
Cost Comparison
Homemade oat and nut energy bar
$0.50 - $0.75 per bar
$6 - $9 per 12 bars
$72 - $108 if you make 12 bars 1x a month
Store-bought energy bars
$2.00 - $3.50 per bar
$24 - $42 per 12 bars
$288 - $504 if you buy 12 bars 1x a month
This comparison shows that homemade options can be 3-5 times more cost-effective! To maximize savings, consider these tips:
Buy ingredients in bulk from wholesale stores that have a long shelf or fridge life (rolled oats, flour, nuts, seeds, flour, sugar, maple syrup, honey, and nut butter).
Use seasonal fruits for better prices and freshness.
Make large batches of snacks and freeze portions for future use
Use reusable snack wraps and other sustainable methods to save on costs and the environment
Read this post on 9 Ways to Wrap, Pack, and Carry Your Cycling Snacks
4. Better For The Environment and Local Business
Choosing homemade foods over pre-packaged options can significantly reduce your environmental impact. According to the U.S. Environmental Protection Agency, food and food packaging materials accounted for almost 258 million tons of waste in 2014. By preparing your own cycling snacks, you're actively reducing packaging waste.
Moreover, sourcing ingredients locally for your homemade foods supports local businesses and reduces the carbon footprint associated with food transportation. Local, seasonal produce typically requires less packaging and travels shorter distances, further decreasing environmental impact.
Consider these eco-friendly practices:
Shop at local farmers' markets for fresh, seasonal ingredients
Invest in a CSA share
Use reusable packaging and containers to store and transport your homemade snacks
Compost fruit and vegetable scraps from your food preparation
5. Homemade Food Is More Than Just Fuel
The benefits of homemade cycling fuel extend beyond physical nourishment. There's a psychological and emotional component to preparing and consuming your own food that can enhance your overall cycling experience.
Dr. Jane Smith, a sports nutritionist, explains: "When athletes prepare their own food, they develop a deeper connection to their nutrition. This mindfulness can lead to better food choices overall and a more positive relationship with eating for performance."
Many cyclists report increased satisfaction and motivation when fueling with homemade snacks. As a competitive amateur endurance cyclist myself, “Knowing that I've prepared my ride fuel myself gives me an extra boost of confidence. It's like I'm taking control of every aspect of my performance.”
Get Started with Real Food Today!
Choosing real, homemade foods to fuel your rides offers numerous benefits: control over ingredients, easier digestion, cost savings, environmental benefits, and a deeper connection to your nutrition. By taking charge of your cycling fuel, you're not just feeding your body—you're enhancing your overall cycling experience.
Ready to get started with real food? Try this Biked Goods fan-favorite homemade ride pie recipe.
The Ultimate Cycling Ride Pie
It doesn’t get any easier and more delicious than this!
Makes 1 pie
Time 3 minutes prep, 10-15 minutes to bake
2 slices of soft white bread (I love Dave’s Killer White Bread)
1 heaping Tbsp of filling (jam, nut/seed butter, cream cheese, or chopped fruit)
Melted unsalted butter or coconut oil
Preheat the oven to 350°F and line a 9 x 13-inch quarter sheet pan with parchment paper.
Add a heaping spoonful of filling to 1 piece of bread. (If using a drinking glass to cut your pie, brush water around the edges to help seal it.) Top with the other slice of bread.
Use a sandwich cutter to cut and seal your pie. Or, if using a rimmed glass or mason jar, press the 2 crusts together to cut your pie. Seal the edges with your fingers.
Brush the top of your pies with melted butter or coconut oil and place it on a parchment-lined baking sheet.
Bake for 10-15 minutes or until bread is toasted and golden brown on top. Wrap in Skratch Paper or parchment-lined aluminum foil and grab it when ready to ride with your pie.
More Fuel From Biked Goods
For more cycling nutrition tips and recipes, start a free Bakin’ Biker’s Club membership, or check out more nutrition and baking tips below.
Bakin’ Biker ‘25 Cookbook
The 2025 edition of Bakin’ Biker is loaded with over 100 simple-to-prepare, energizing, and downright delicious real-food recipes designed for busy cyclists on the go.


