
A Guide To Making Homemade Energy Bars for Cycling

In a world dominated by store-bought energy bars, I believe the best energy bar brand is….. our own!
Why?
You get to control exactly what real ingredients you put into your energy bars. Sometimes store brands sneak in those extra unnecessary additives like excess sugar alcohols, palm oils, soy protein isolates and so-called natural flavors, which are all red flags. (Not saying all brands do this! But it’s almost always a safer bet when you’re the master behind your own creations)
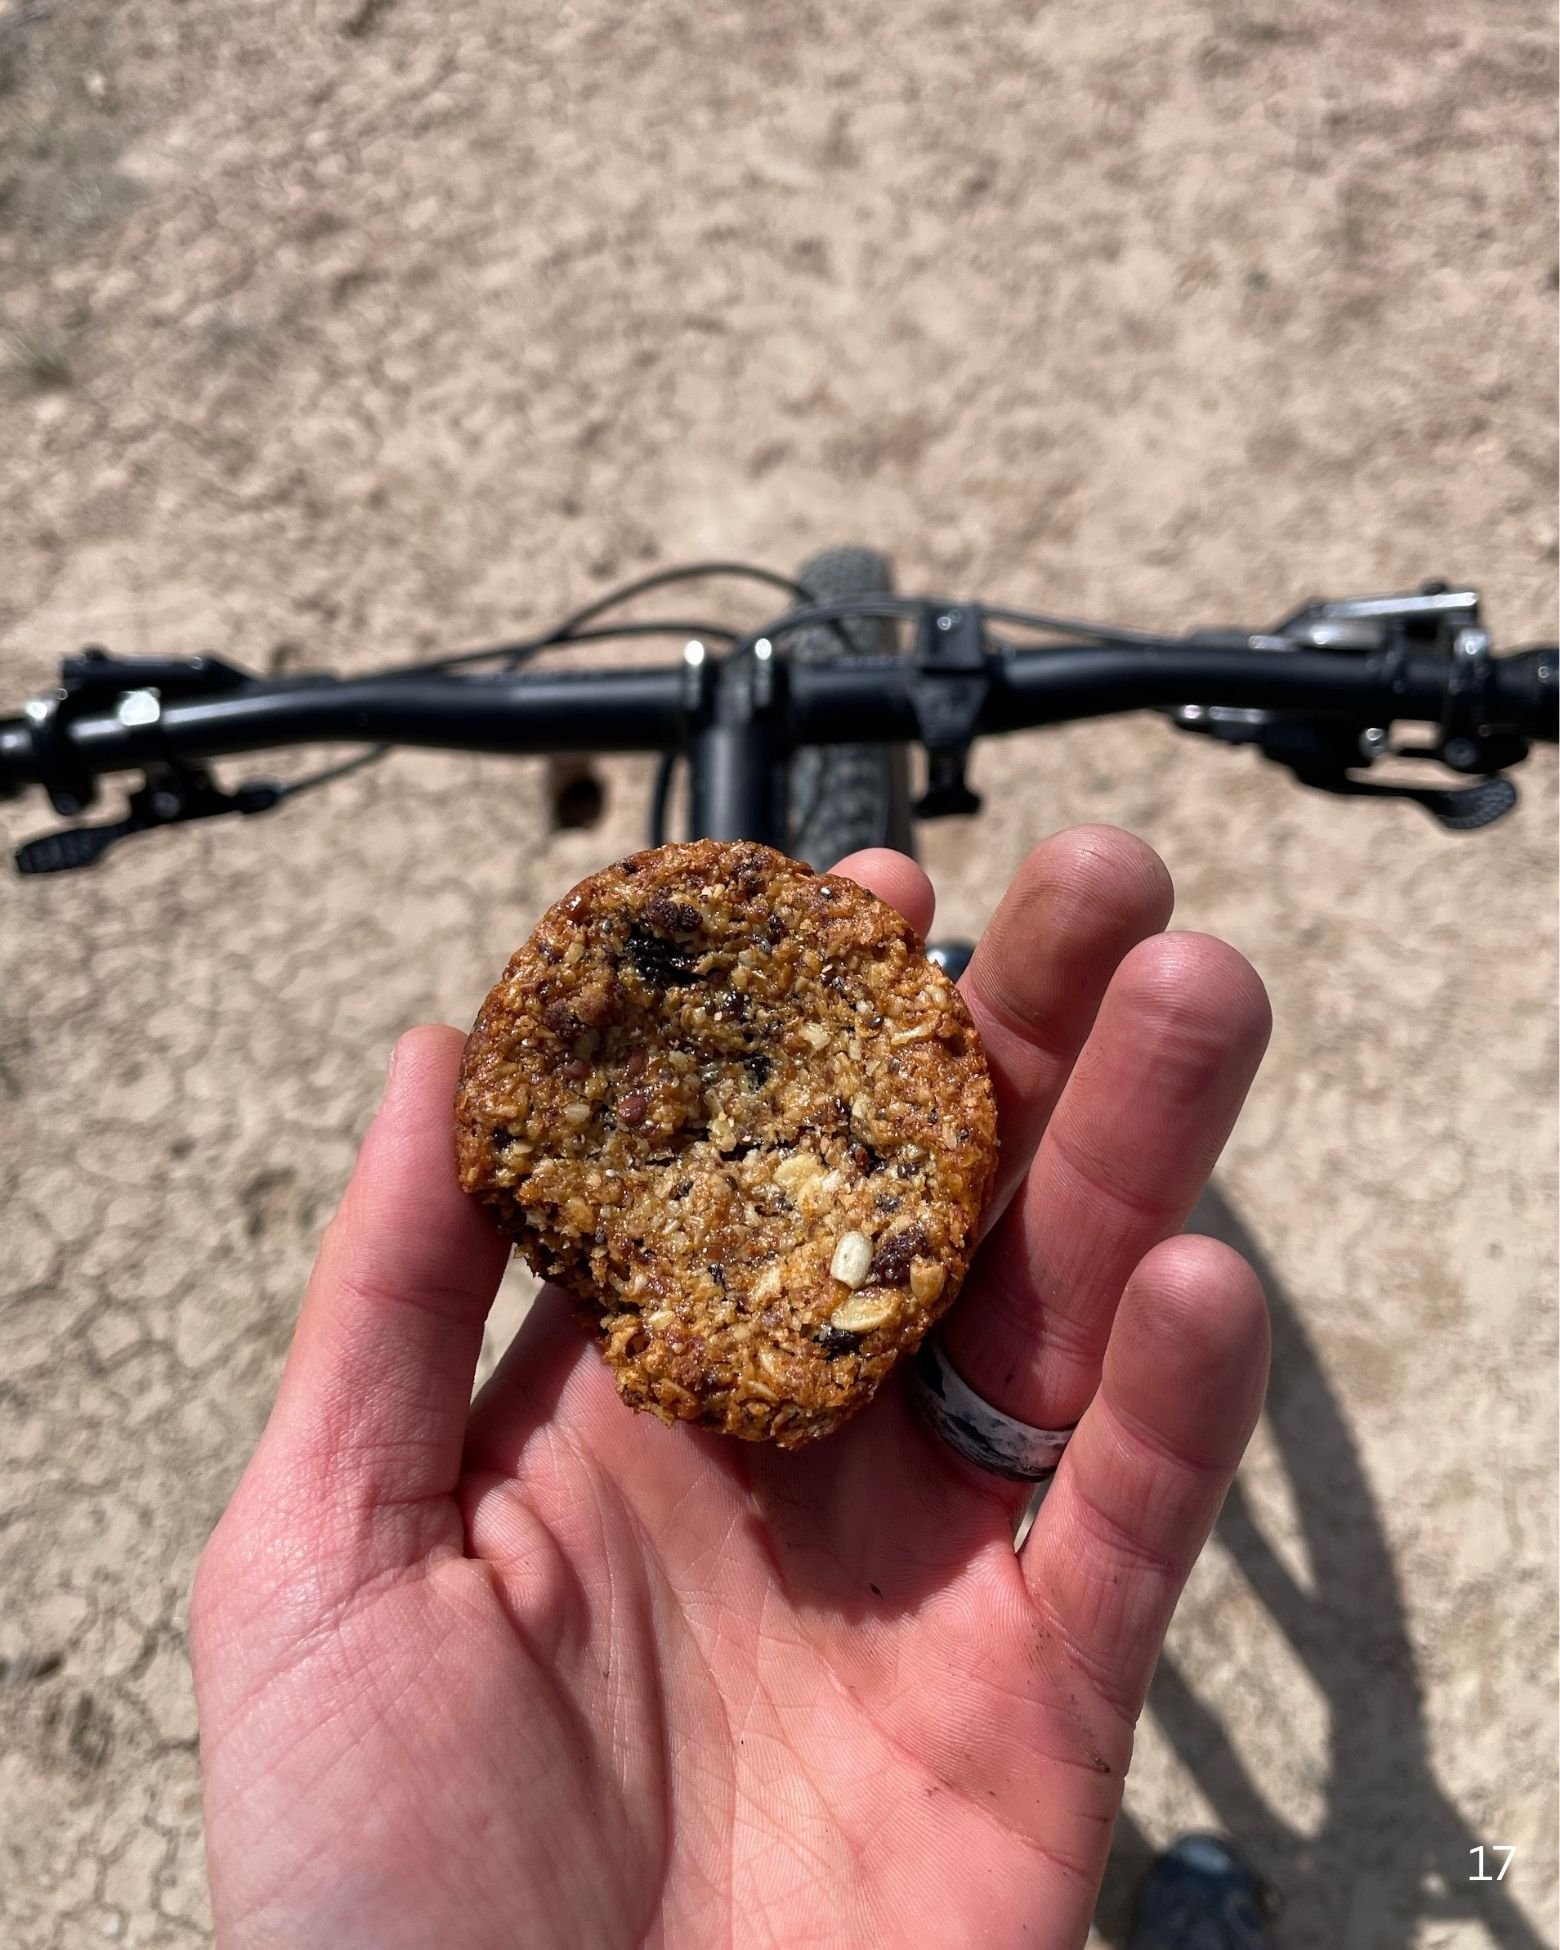
Making your own homemade energy bars with ingredients you know and love + using them to fuel yourself is so much more emotionally rewarding than eating a store-bought bar. This is a big deal when you’re out riding your bike! There’s nothing like grabbing your bar while out on a ride, taking a bite and shouting out loud in the middle of nowhere. I MADE that Energy Bar! Hell YAH! (even if it does suck! Haha)
So that’s what we’re going to dive into in this guide for making homemade energy bars for cycling. I’ll give you a complete guide on how to make your OWN homemade cycling energy bars, the baking tools and appliances you’ll need, plus some products you can use to transport them when you're out on a ride. I’ll also provide a recipe for my own version along with 21 other energy bar recipes that you can use for inspiration to get started with making your own brand.
By the end, you’ll have everything you need to become an energy bar-making machine!
Jump to a section

How To Become An Energy Bar Making Machine
A complete guide for how to make your OWN homemade cycling energy bars, the baking tools and appliances you’ll need, plus products and gear you can use to transport your bars while you're out on a ride. This guide also includes a super-secret recipe to my own Salted Caramel S’mores Energy Bar that you can use for inspiration to get started with making your own brand.
What Is An Energy Bar?
Before we get started with making your own energy bars, let’s just talk briefly about what an energy bar is. Let’s turn to the handy-dandy dictionary definition to help us out.
According to the dictionary, an energy bar is a bar-shaped food intended to boost physical energy, typically containing a combination of fats, carbohydrates, and proteins and fortified with vitamins and minerals.
I believe there are a few keywords in the definition that are important to point out.
First and most importantly, the “intended to boost physical energy” part. This is usually the goal for us while we are out riding. We don’t want to eat something that’s going to slow us down, right? When it comes to needing quick energy, carbohydrates are the KING/QUEEN for fueling, especially at higher intensities.
The second part of the definition that stands out to me is, “containing a combination of fats, carbohydrates and proteins.” When rides get longer and at lower intensities, fat and protein come into play to help keep us full longer. At lower intensities, our bodies use fat for fuel to help our bodies spare carbohydrates for fueling when we really need them, like powering up a long climb or sprinting to the finish line.
Notice the definition doesn’t say, “contains primarily” fats or protein. That’s what is different between an “energy bar” and a “protein bar.” Protein bars were designed as a meal replacement or recovery food due to their high amount of protein compared to carbs and fats, which helps keep us full and with recovery to an extent. A large amount of protein compared to carbs and fats in your energy bar is not your friend when you’re out riding. Protein takes longer for your body to digest and therefore probably isn't a good fuel source to energize you on the bike.
Then you may ask what’s the difference between an energy bar and a candy bar? Both are similar. And ultimately what’s different is the ingredients that are included in them. Energy bars typically should include more whole grains, whereas candy bars include more processed ingredients and not-so-good for you oils.
Keep this in mind when it comes time to make your own homemade energy bars
Characteristics Of A Homemade Energy Bar

To sum up some of the points above, along with a few other characteristics that make a homemade energy bar an energy bar.
Homemade energy bars are:
Primarily made up of oats or a combination of other strong structured ingredients
Intended to boost physical energy, not slow you down
Contains a combination of simple and complex carbs, fats and proteins
Meant to be fun and enjoyable. Get creative, use ingredients you’ll look forward to eating come chow time
Easy-to-pack, robust, won’t get squishy in your jersey pocket or wrap
NOT meant for a meal replacement
When Should We Use Energy Bars For Fueling?
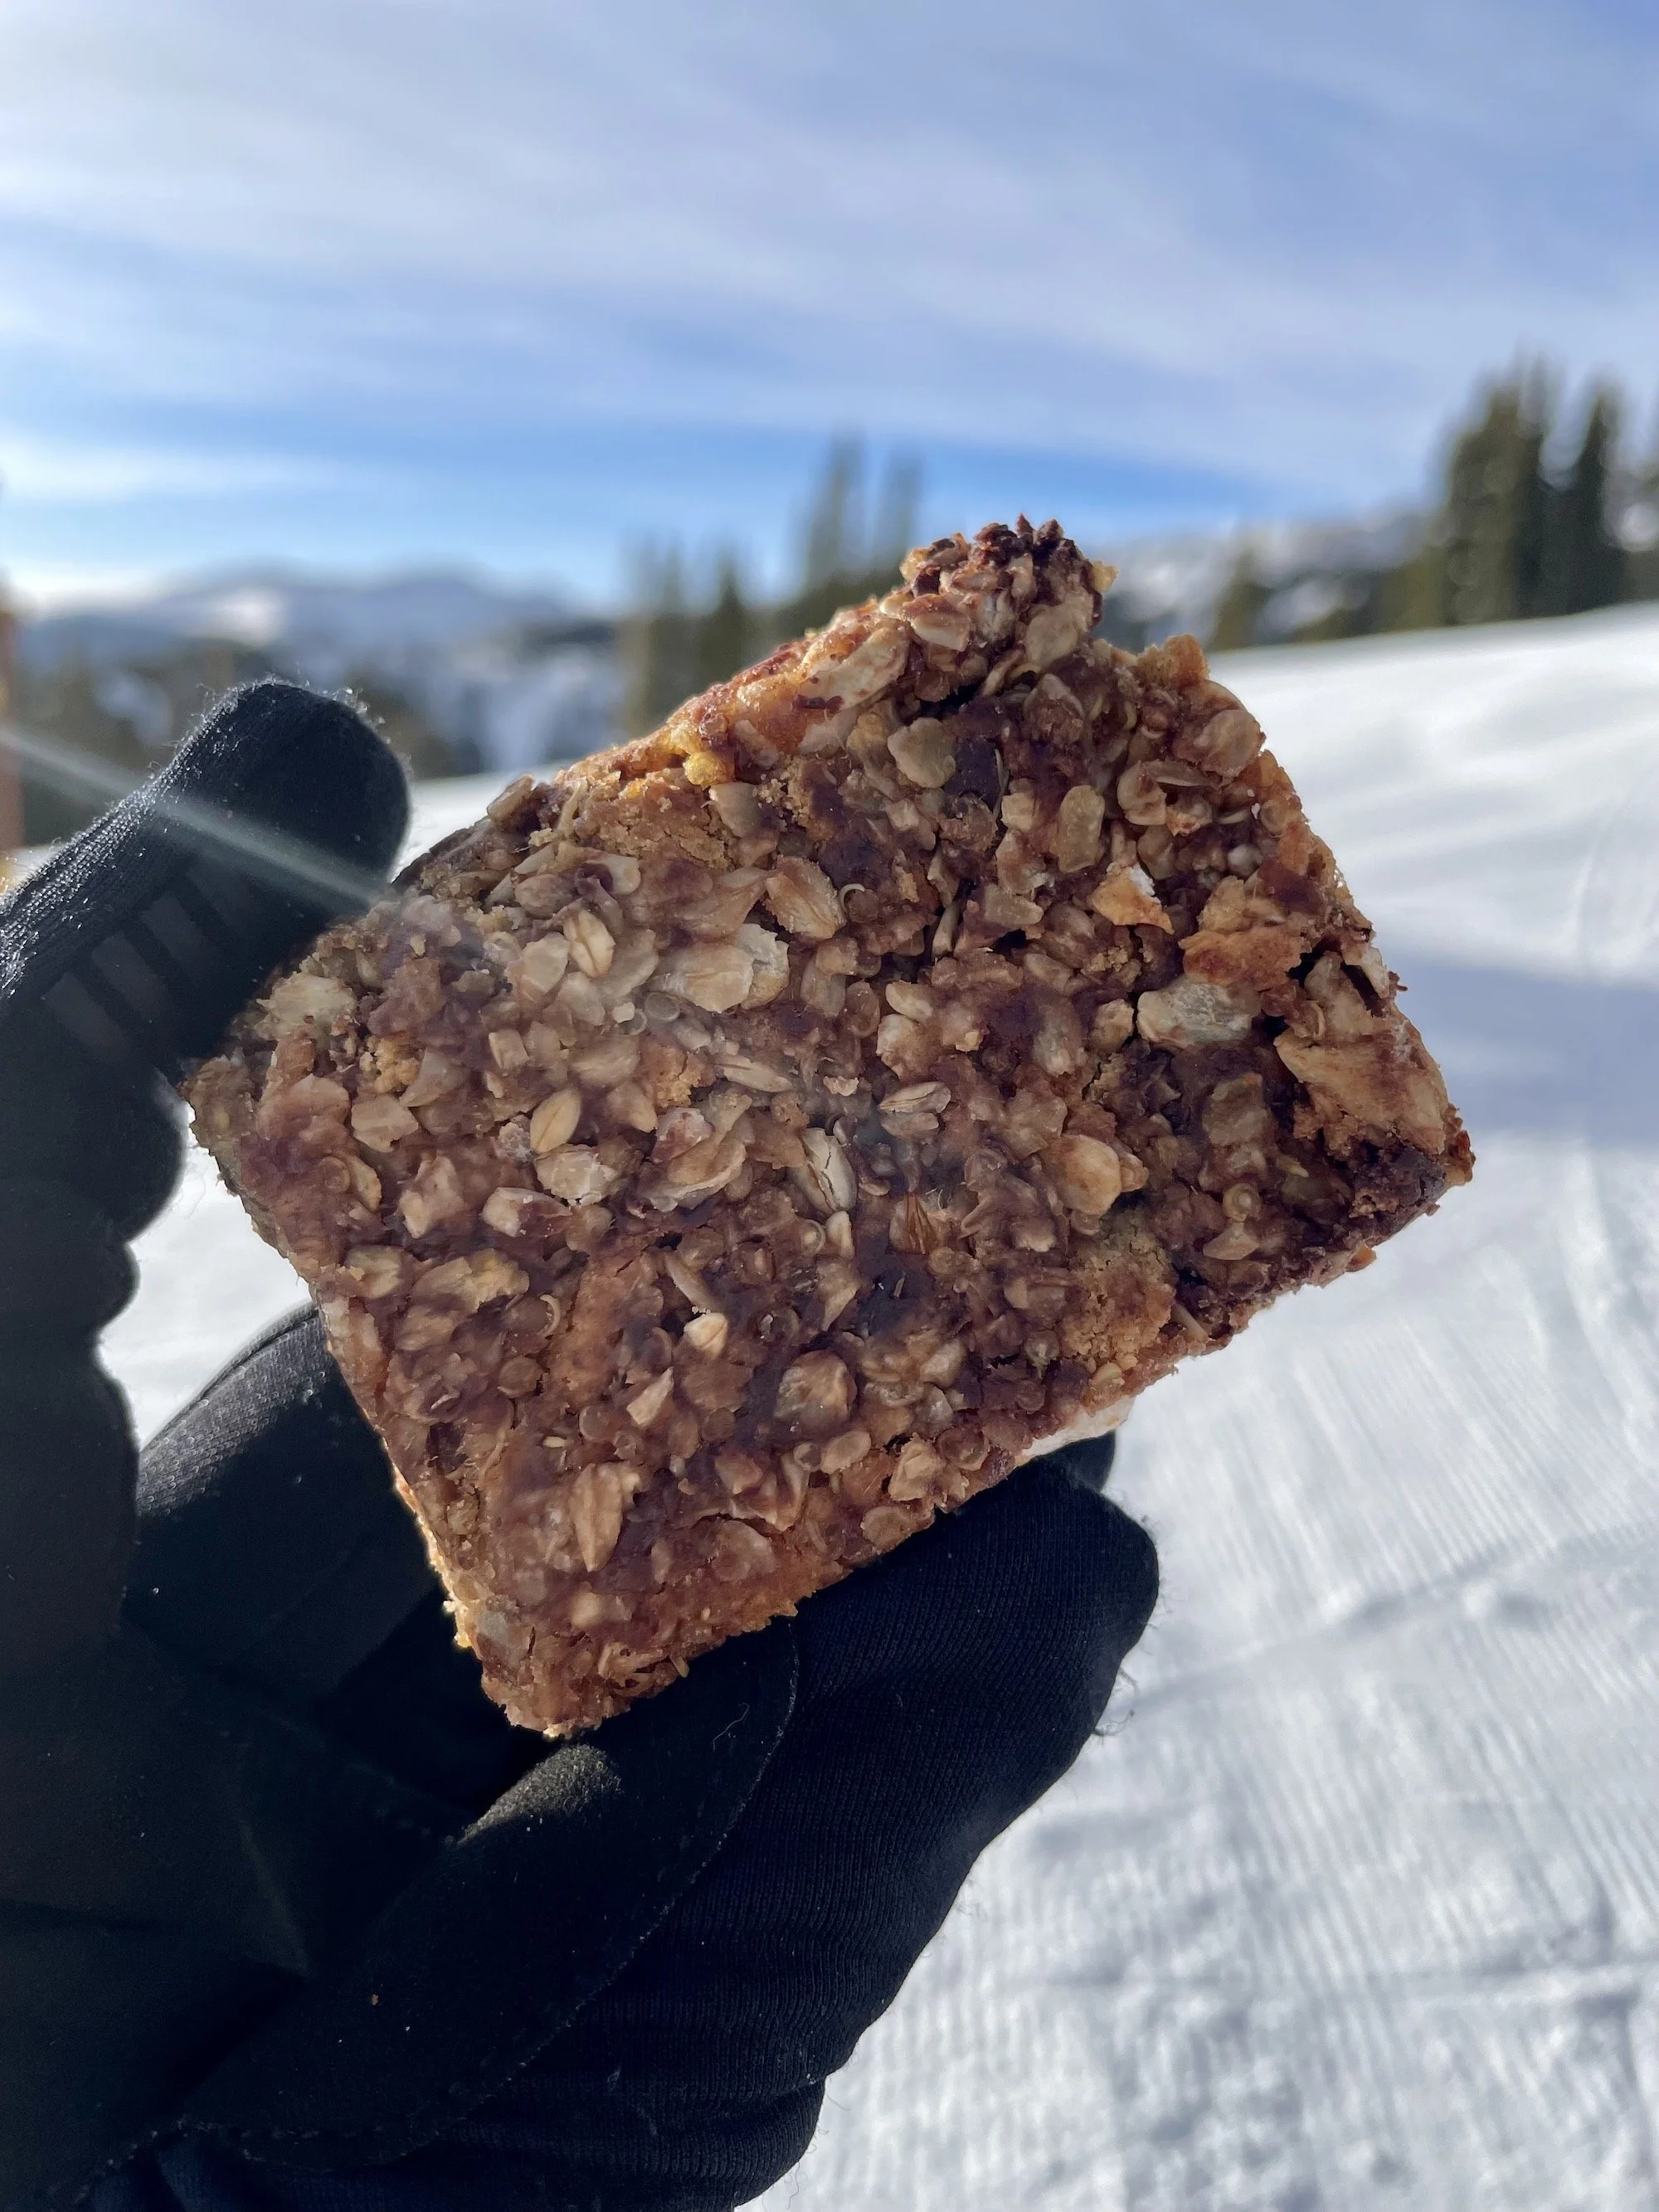
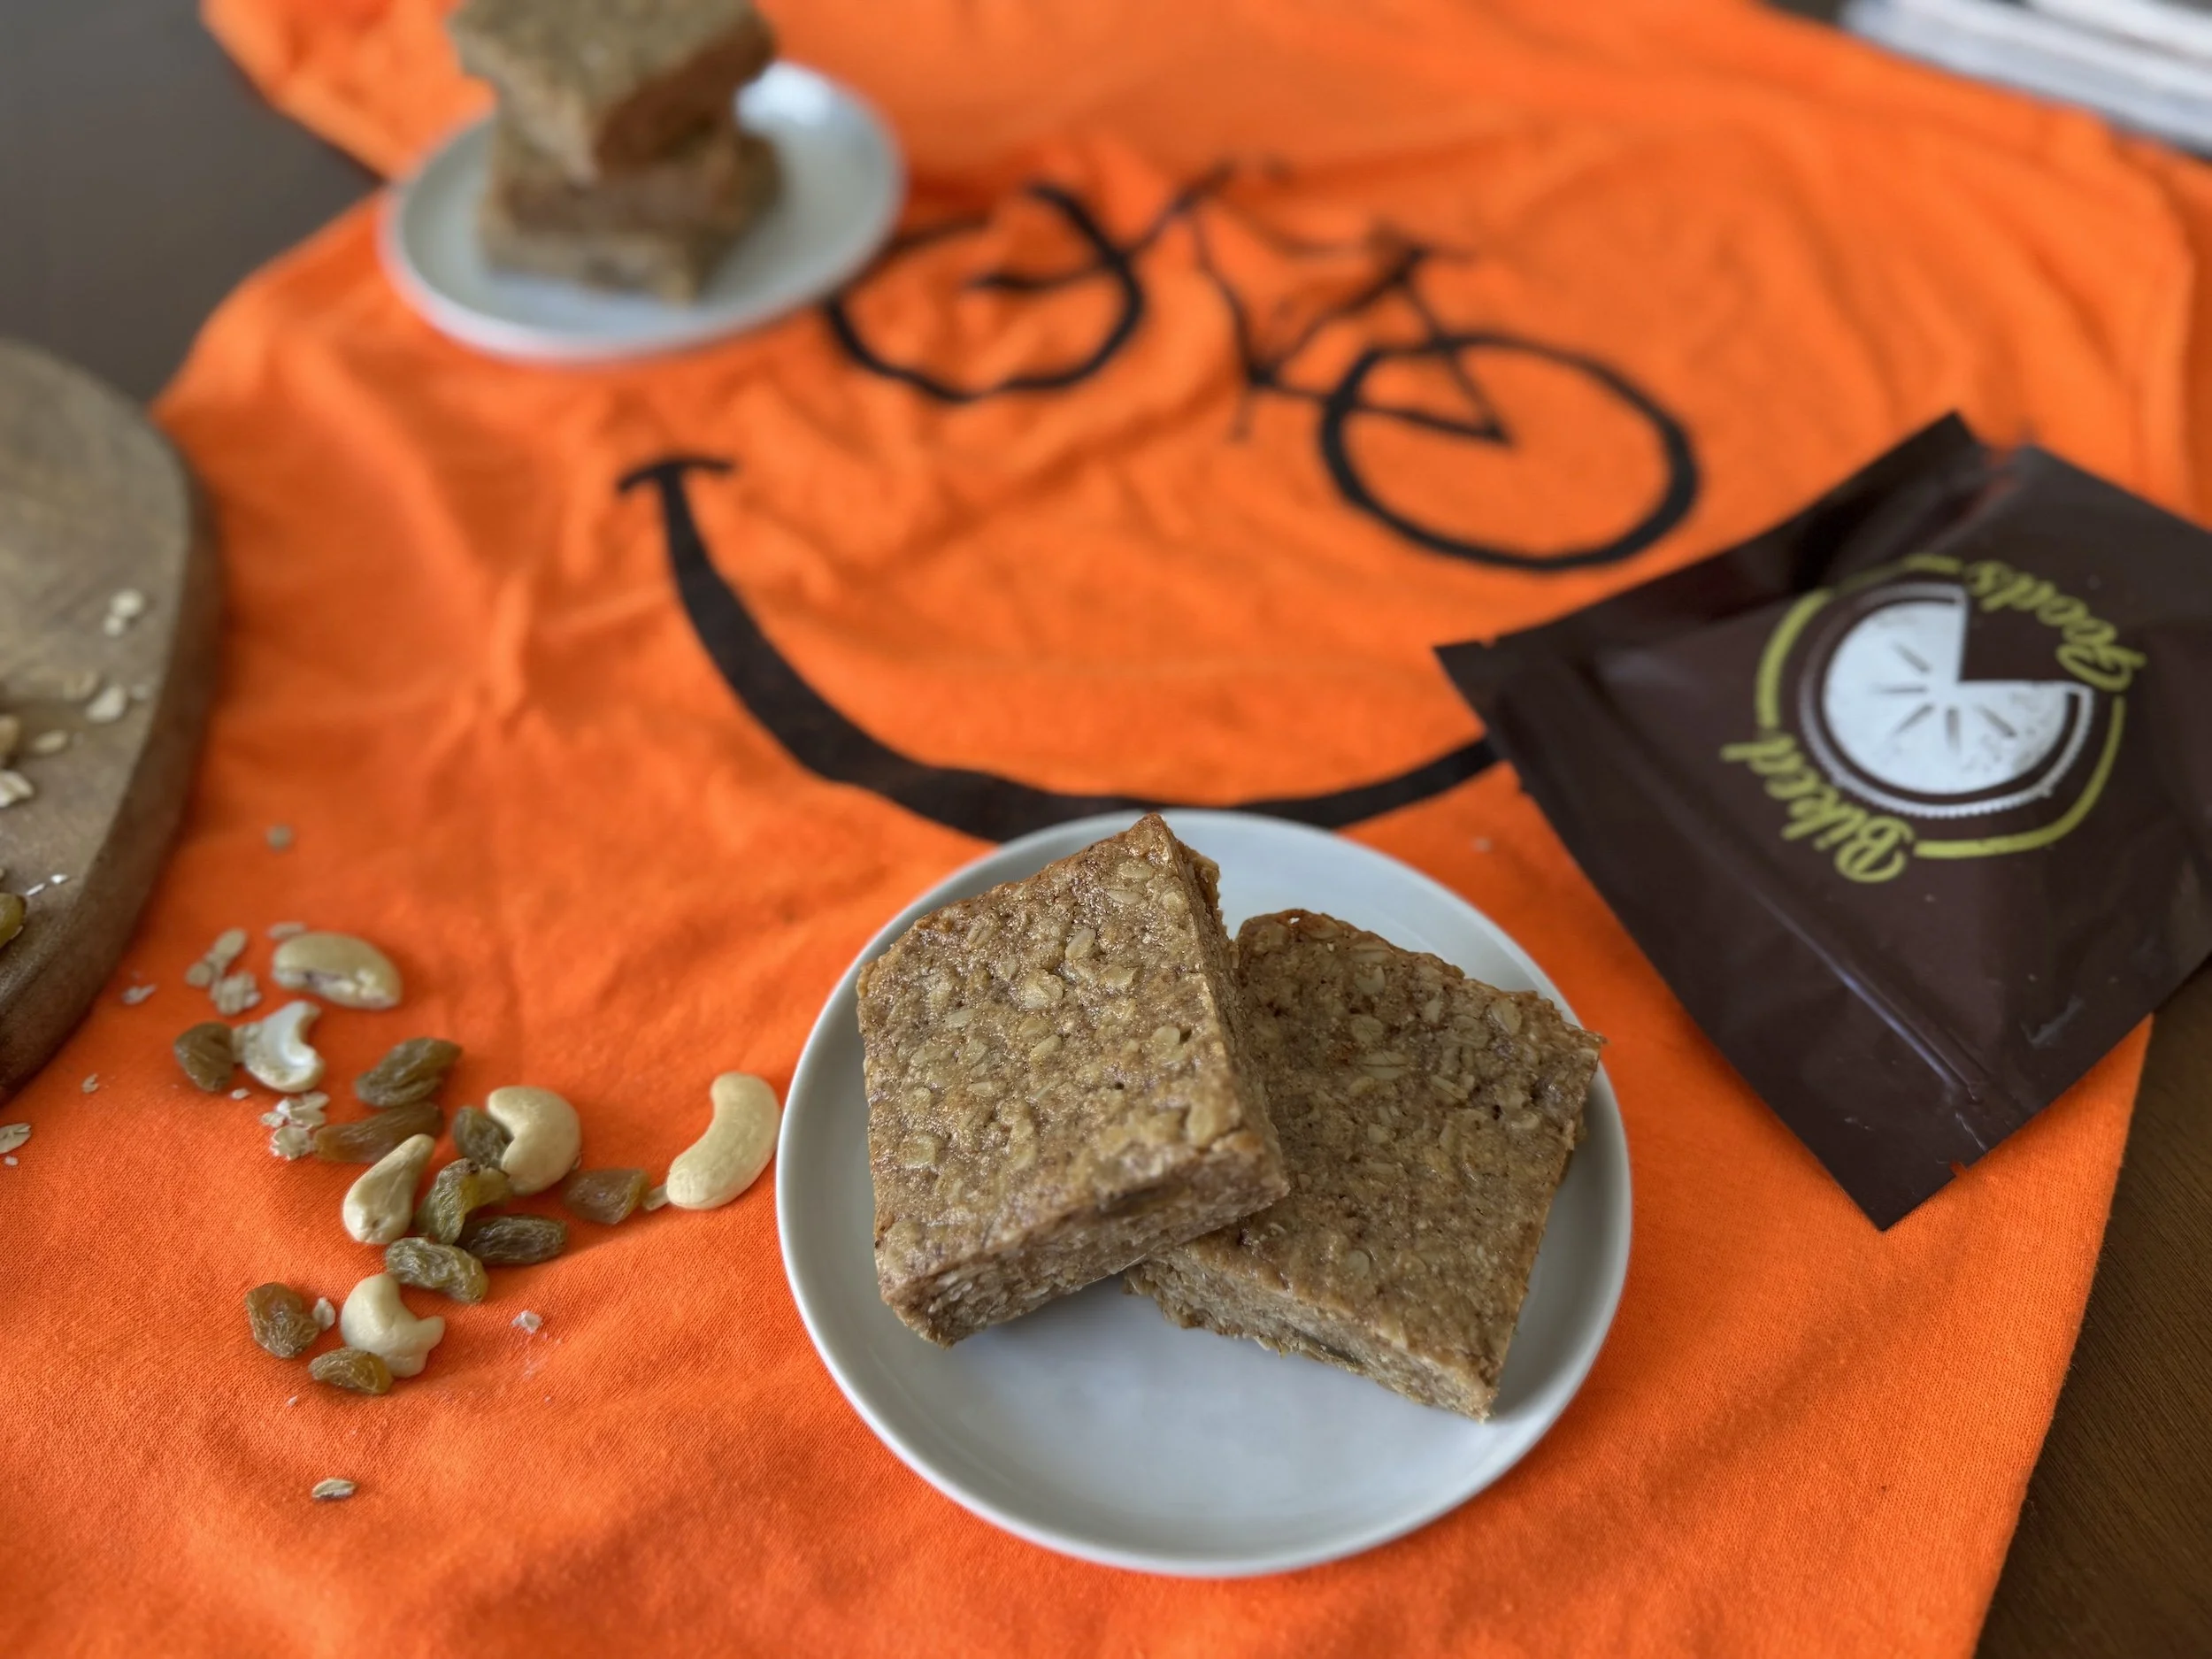
A full day spent out on the Fruita 18 Rd trails called for fueling with this Figgin’ Awesome Date Bar!
I see there are a few ways that we should be eating energy bars as cyclists and athletes.
The ideas and suggestions written below are provided for general educational purposes only and should not be construed as medical advice or care. Always due your due diligence by testing, going through trial-and-error, and documenting your nutrition intake in a food log to help nail down your exact nutritional timing. needs.
Pre-Race/Event/Training Ride Snack (~30 Minutes Before A Ride)
Whether you’re planning to get out for a two-hour-plus long ride, before a race or prior to hopping on your trainer, eating 30 minutes prior to your ride helps top your glycogen stores. This helps you start your ride with as near to a full tank of glycogen as possible. Energy bars make a good and easy source of fuel to help with topping off your glycogen stores before a ride.
Short Duration/High-Intensity Rides/Races (~1-2 Hours)
These types of rides require a quick source of carbs to keep blood glucose levels up. Simple carbs and ingredients are your friends here when it comes to what you include in your energy bar recipe. Try to stay away from or reduce fats, fiber and protein in your energy bars for these rides, as your body may have a hard time digesting and could cause GI upset. Make them easy to chew, too. Chewing is the first essential step of digestion. Food must be chewed so it can be swallowed easily and when it arrives into the stomach, be properly digested and used more quickly for fuel.
Bikepacking/Adventuring/Endurance Events (~Over 2 Hours)
Whether you’re out on the trails for the day with your friends, taking a solo bikepacking trip, or participating in an endurance event that lasts over 2 hours, fueling with real food that provides mostly carbs and some protein and fats is ideal. Energy bars in this situation are a convenient source of fuel due to their portability and high-calorie makeup. This is where that little bit of chocolate or nut butter in your energy bar recipe can be your friend :)
Tip: Make sure you’re also well hydrated leading up to your rides, during your rides and after your rides to help aid with digestion and ensure your body absorbs the nutrients you are feeding it!
The Foundation For Making Your Own Homemade Energy Bars
The foundation behind making your own homemade energy bars is TOTES easy. Almost TOO easy! To make your own at home, you’ll need:
A Binder
This is the glue that will make all of your base and add-in ingredients stick together. You can use one binder ingredient or a combination of them, for example, blending dates, figs or bananas with a little water/other binders to make a fruit paste. Below are some common binder ingredients.
Agave
Brown Rice Syrup
Bananas
Coconut oil or other neutral-flavored oil like sunflower
Coconut sugar
Dates
Figs
Honey
Jam or jelly
Maple Syrup
Nut Butter (Peanut butter, almond butter, cashew butter)
Seed Butter (Tahini, sunflower seed butter)
Sweet Potato (For a veggie twist!)
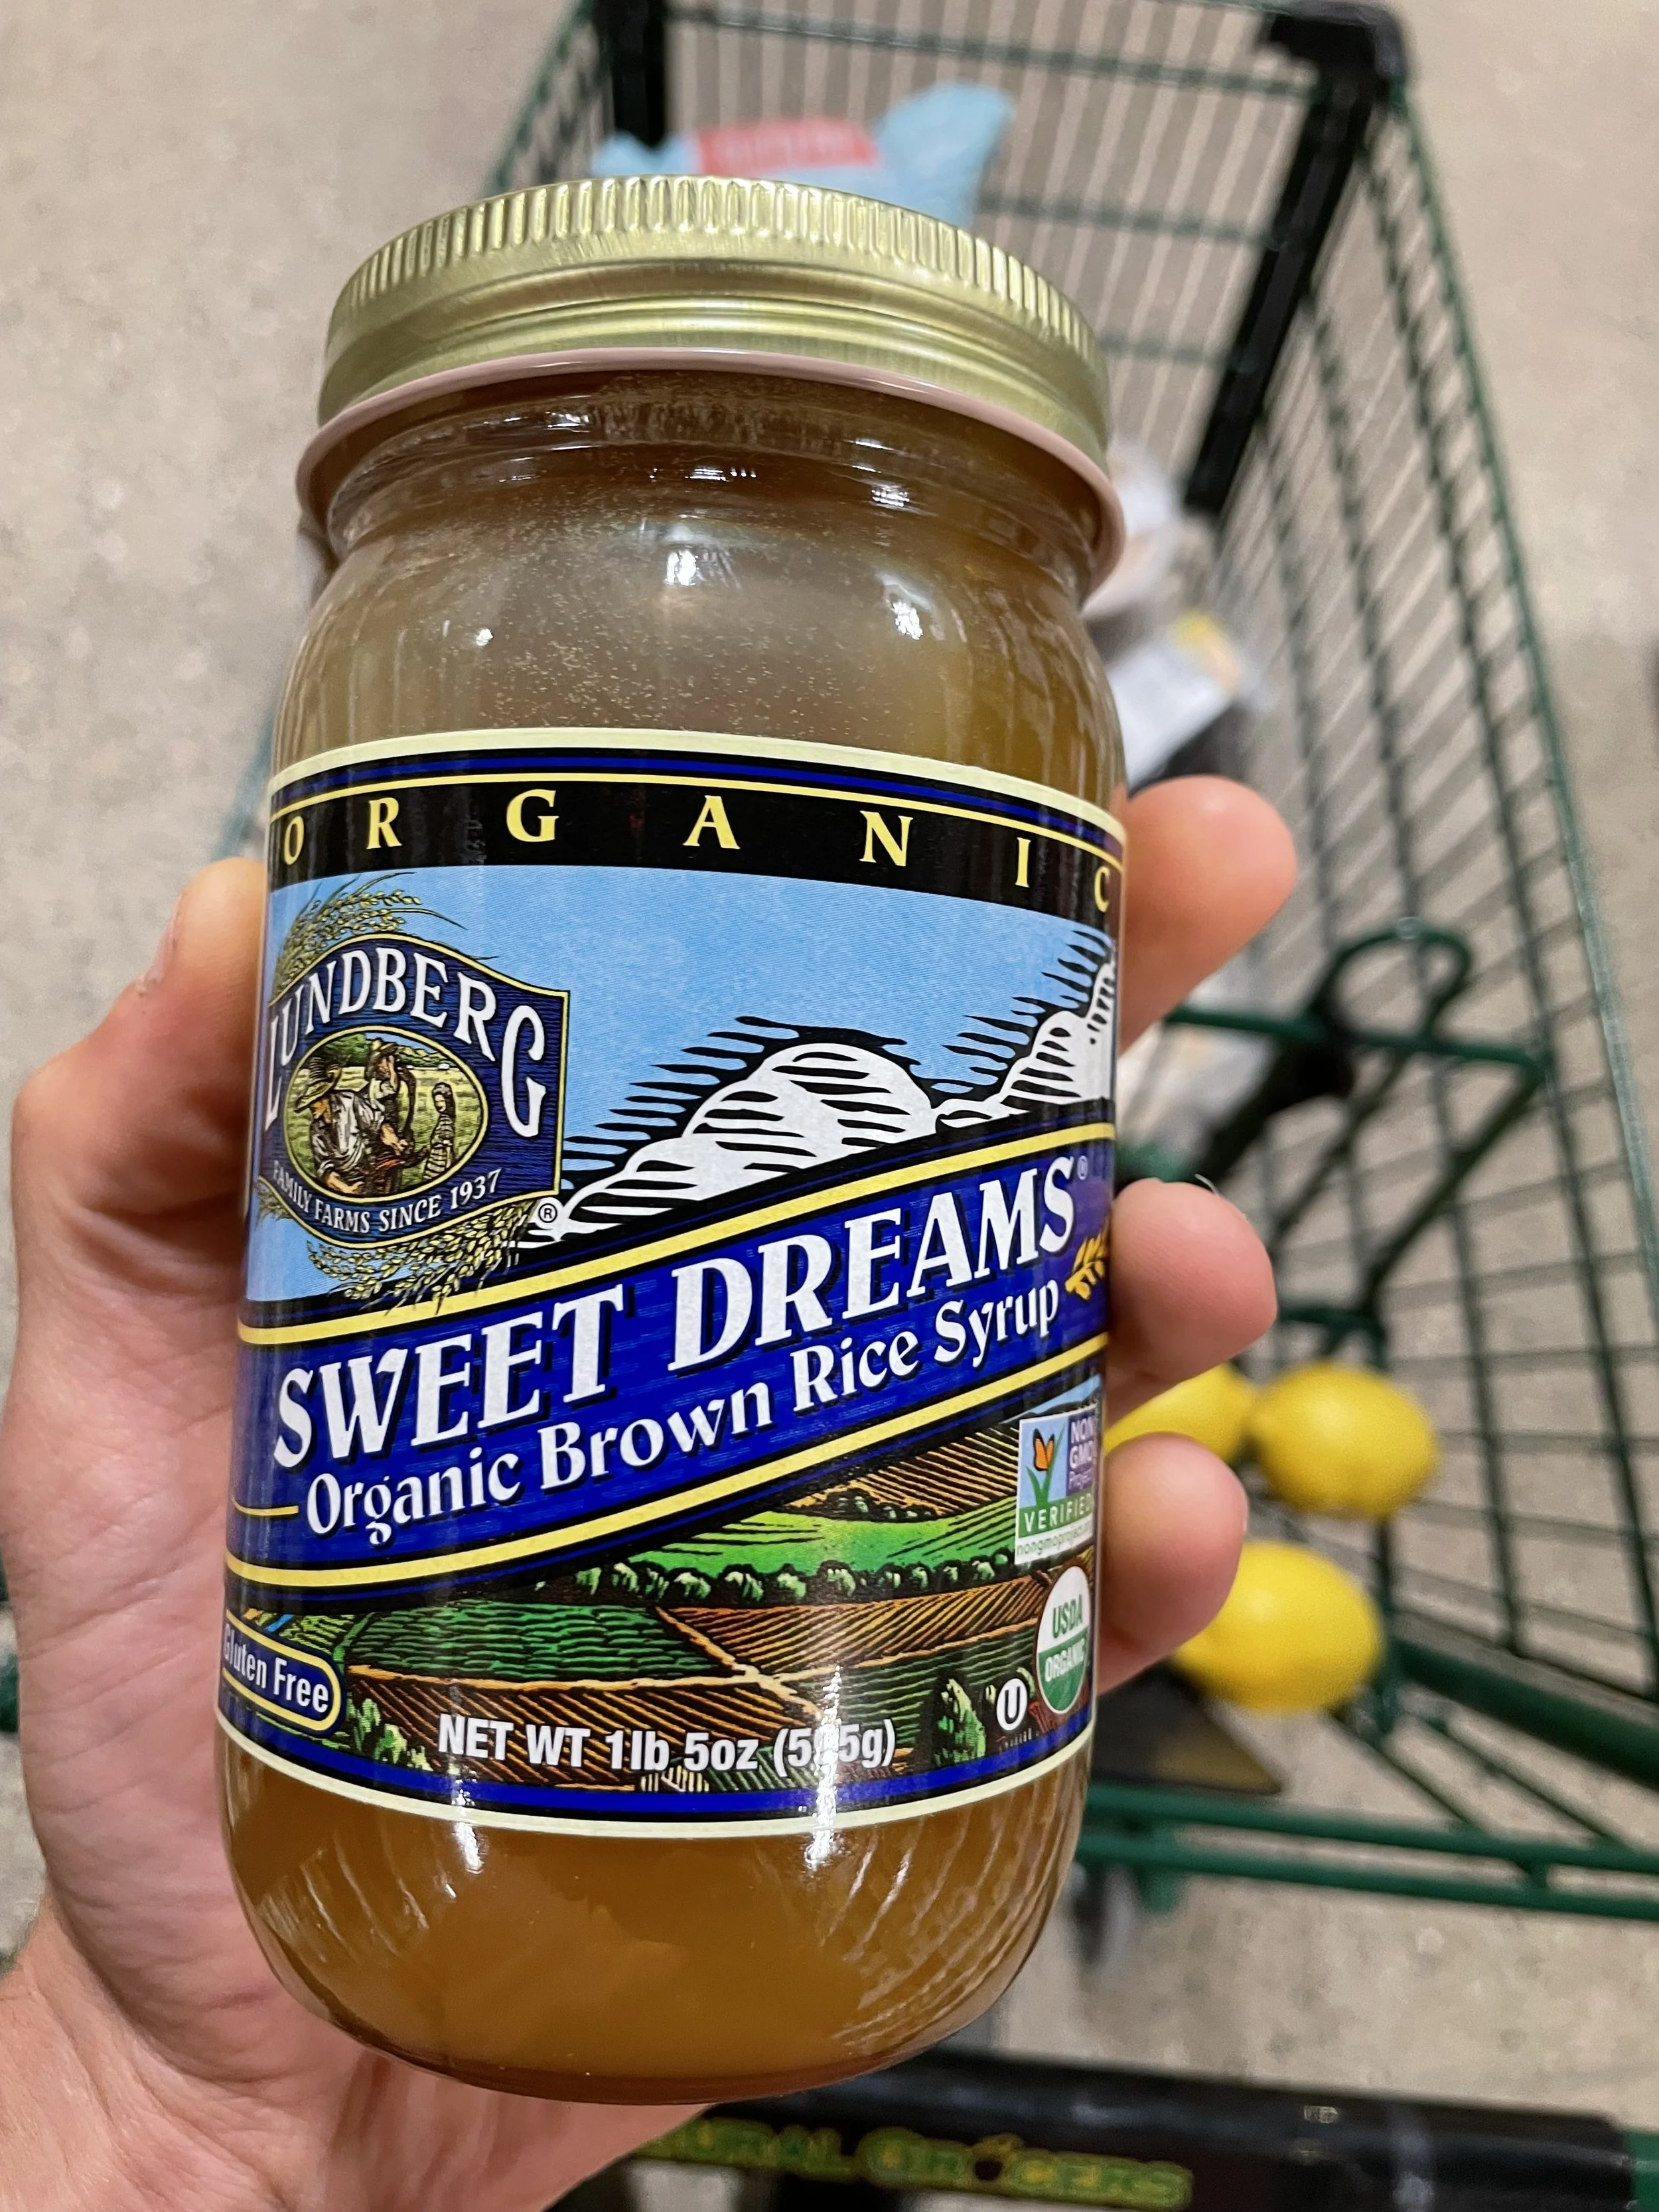
Brown Rice Syrup makes a fantastic energy bar binding ingredient due to its super-sticky makeup
+ A Base
An energy bar consists of one or multiple base ingredients. The primary function of the base is to provide a solid structure + nutrients.
Rolled Oats and Quick-Rolled Oats
Flour (Oat flour, whole-wheat pastry flour, all-purpose flour)
Muesli (Basically a base and add-in combined into one!)
Cereal (Brown rice crisps or other grain-based cereals)
Nuts (Almond, cashews, pecans, walnuts processed to make a “crust”)
Quinoa
Graham crackers
+ Add-Ins
Add-ins provide extra texture, nutrients and/or flavor to your energy bars. Sometimes your add-in ingredients will be blended/processed with the binder, or blended/processed halfway through making your binder to slightly chop your add-in ingredients. Other times you’ll just fold them in while mixing the binder and base ingredients together. Below are some add-in options.
Chocolate chips, chunks or cacao nibs
Dried and freeze-dried fruits
Nuts
Seeds (Hemp seeds, chia seeds, flax seeds, sesame seeds, sunflower seeds)
Seasonings (Cinnamon, cocoa powder, sea salt)
Vanilla extract
Unsweetened shredded coconut
The Appliances And Tools You Need To Make Homemade Energy Bars
My recommended kitchen appliances and tools to help you easily whip up a batch of energy bars.
Mixing Bowls
This set of mixing bowls from Cuisinart is so clutch to have in the kitchen. So clutch, that I have TWO sets. They come in three different sizes, plus include covers for easy storing in the fridge. I most often find myself using the large bowl for mixing energy bar ingredients together. This is because I like to make large batches so that I can freeze half of the bars for later. Plus, using a large bowl prevents your ingredients from spilling out and creating a mess when mixing!
Food Processor Or High-Speed Blender
I’ve used both a high-speed blender and a food processor to help with mixing binder ingredients and chopping the base of my energy bars. A high-speed blender works best when your energy bar recipes contain more liquid. The food processor is better for chopping, pulsing and grinding dry ingredients like nuts and other foods that are mainly solid.
I’m partial to the Vitamix brand for these appliances. Even though it’s an investment up front, the quality and reliability of these appliances are 100% worth it and will save you a ton of time in the kitchen.
Also, when you purchase the base motor for the Vitamix that comes with the blender, the food processor component is an attachment or accessory that you can add to it, which helps save a little space in your kitchen.
Good Quality Chef's Knife Or Santoku Knife
If you like doing things the old-fashion way, having a good quality Chef’s knife or Santoku knife can help you with chopping, slicing and dicing your energy bars and ingredients. Both a Chef’s knife and Santoku are considered all-purpose knives, and if there’s one knife I recommend you have in your kitchen, it’s one of these. A little of an investment up front, but dull/non-quality knives end up causing most accidents in the kitchen. So better investing right away versus making a trip to the ER and paying for the price later.
Get your Santoku Knife here (I find myself using this knife more often for energy bars than my chef’s knife due to its smaller size and more precise cuts)
Baking Pan, Sheet Pan Or Baking Dish
There are several tools you can use to form and bake your energy bars. Here are 3 options:
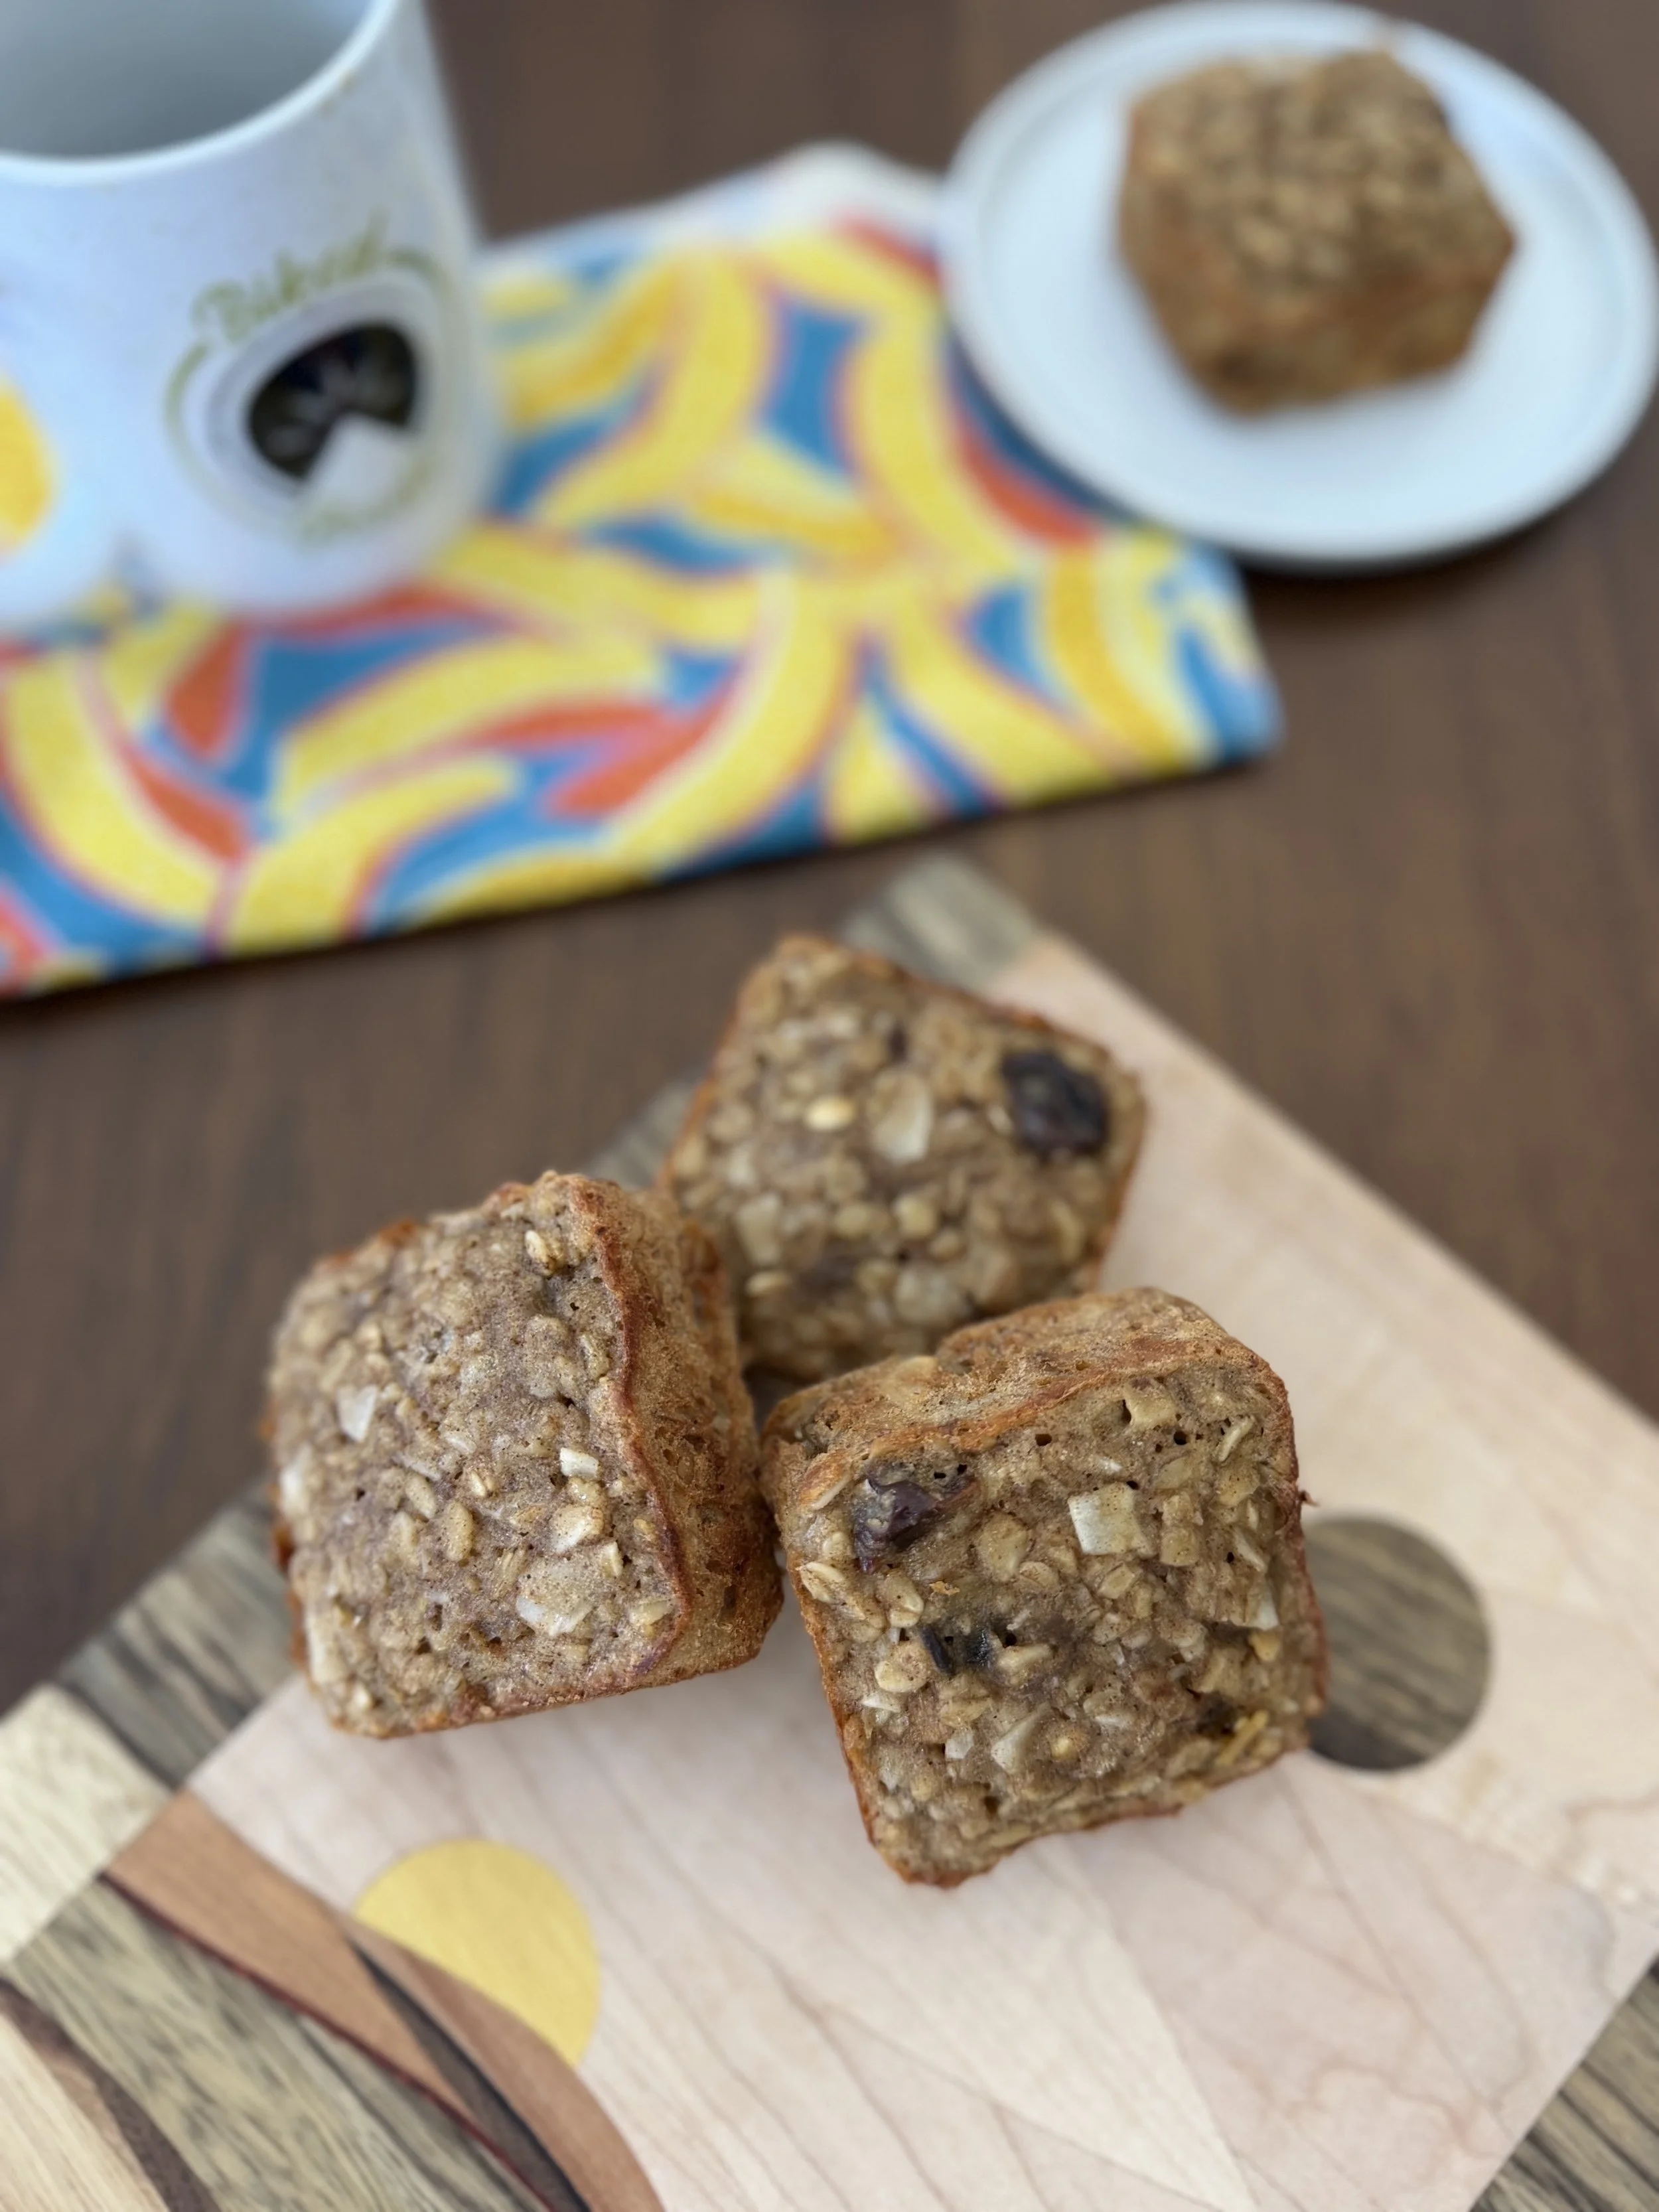
This 8-cavity mini-loaf pan or 12-cavity bar pan from Milton help you make perfectly shaped energy bars
A 9x13 or 13x18 sheet pan is the perfect tool to help form and press your energy bars. Once they are set, you can easily cut them with a pizza cutter or other cutting tool. This 2-piece sheet pan set from OXO should give you just what you need to get started.
A baking dish also works well to help form and press your bars. These are just a little deeper than a sheet pan, so if thicker energy bars are what you intend to make, then use a baking dish.
Rice Paddle, Spatula Or Flat-Bottomed Measuring Cup For Pressing
Nothing special is needed here in terms of equipment, what’s more, important is that you have a flat-based tool for evenly and thoroughly pressing your energy bars into your pan or dish to make sure they stay intact.
Parchment Paper
Parchment paper helps your energy bars from sticking to the bottom of the pan, which helps keep them intact as you cut them out. It also doubles down as another pressing tool.
Tip: The key to energy bars that hold their shape? A proper pressing. Fold overhanging parchment over the bar mixture and use a flat-bottomed measuring cup to firmly pack the mixture into the pan. Uncover, check for divots, and press again to create an even top.
How To Wrap, Pack And Store Your Energy Bars
Recommended products you can use to wrap, pack and store your homemade energy bars.
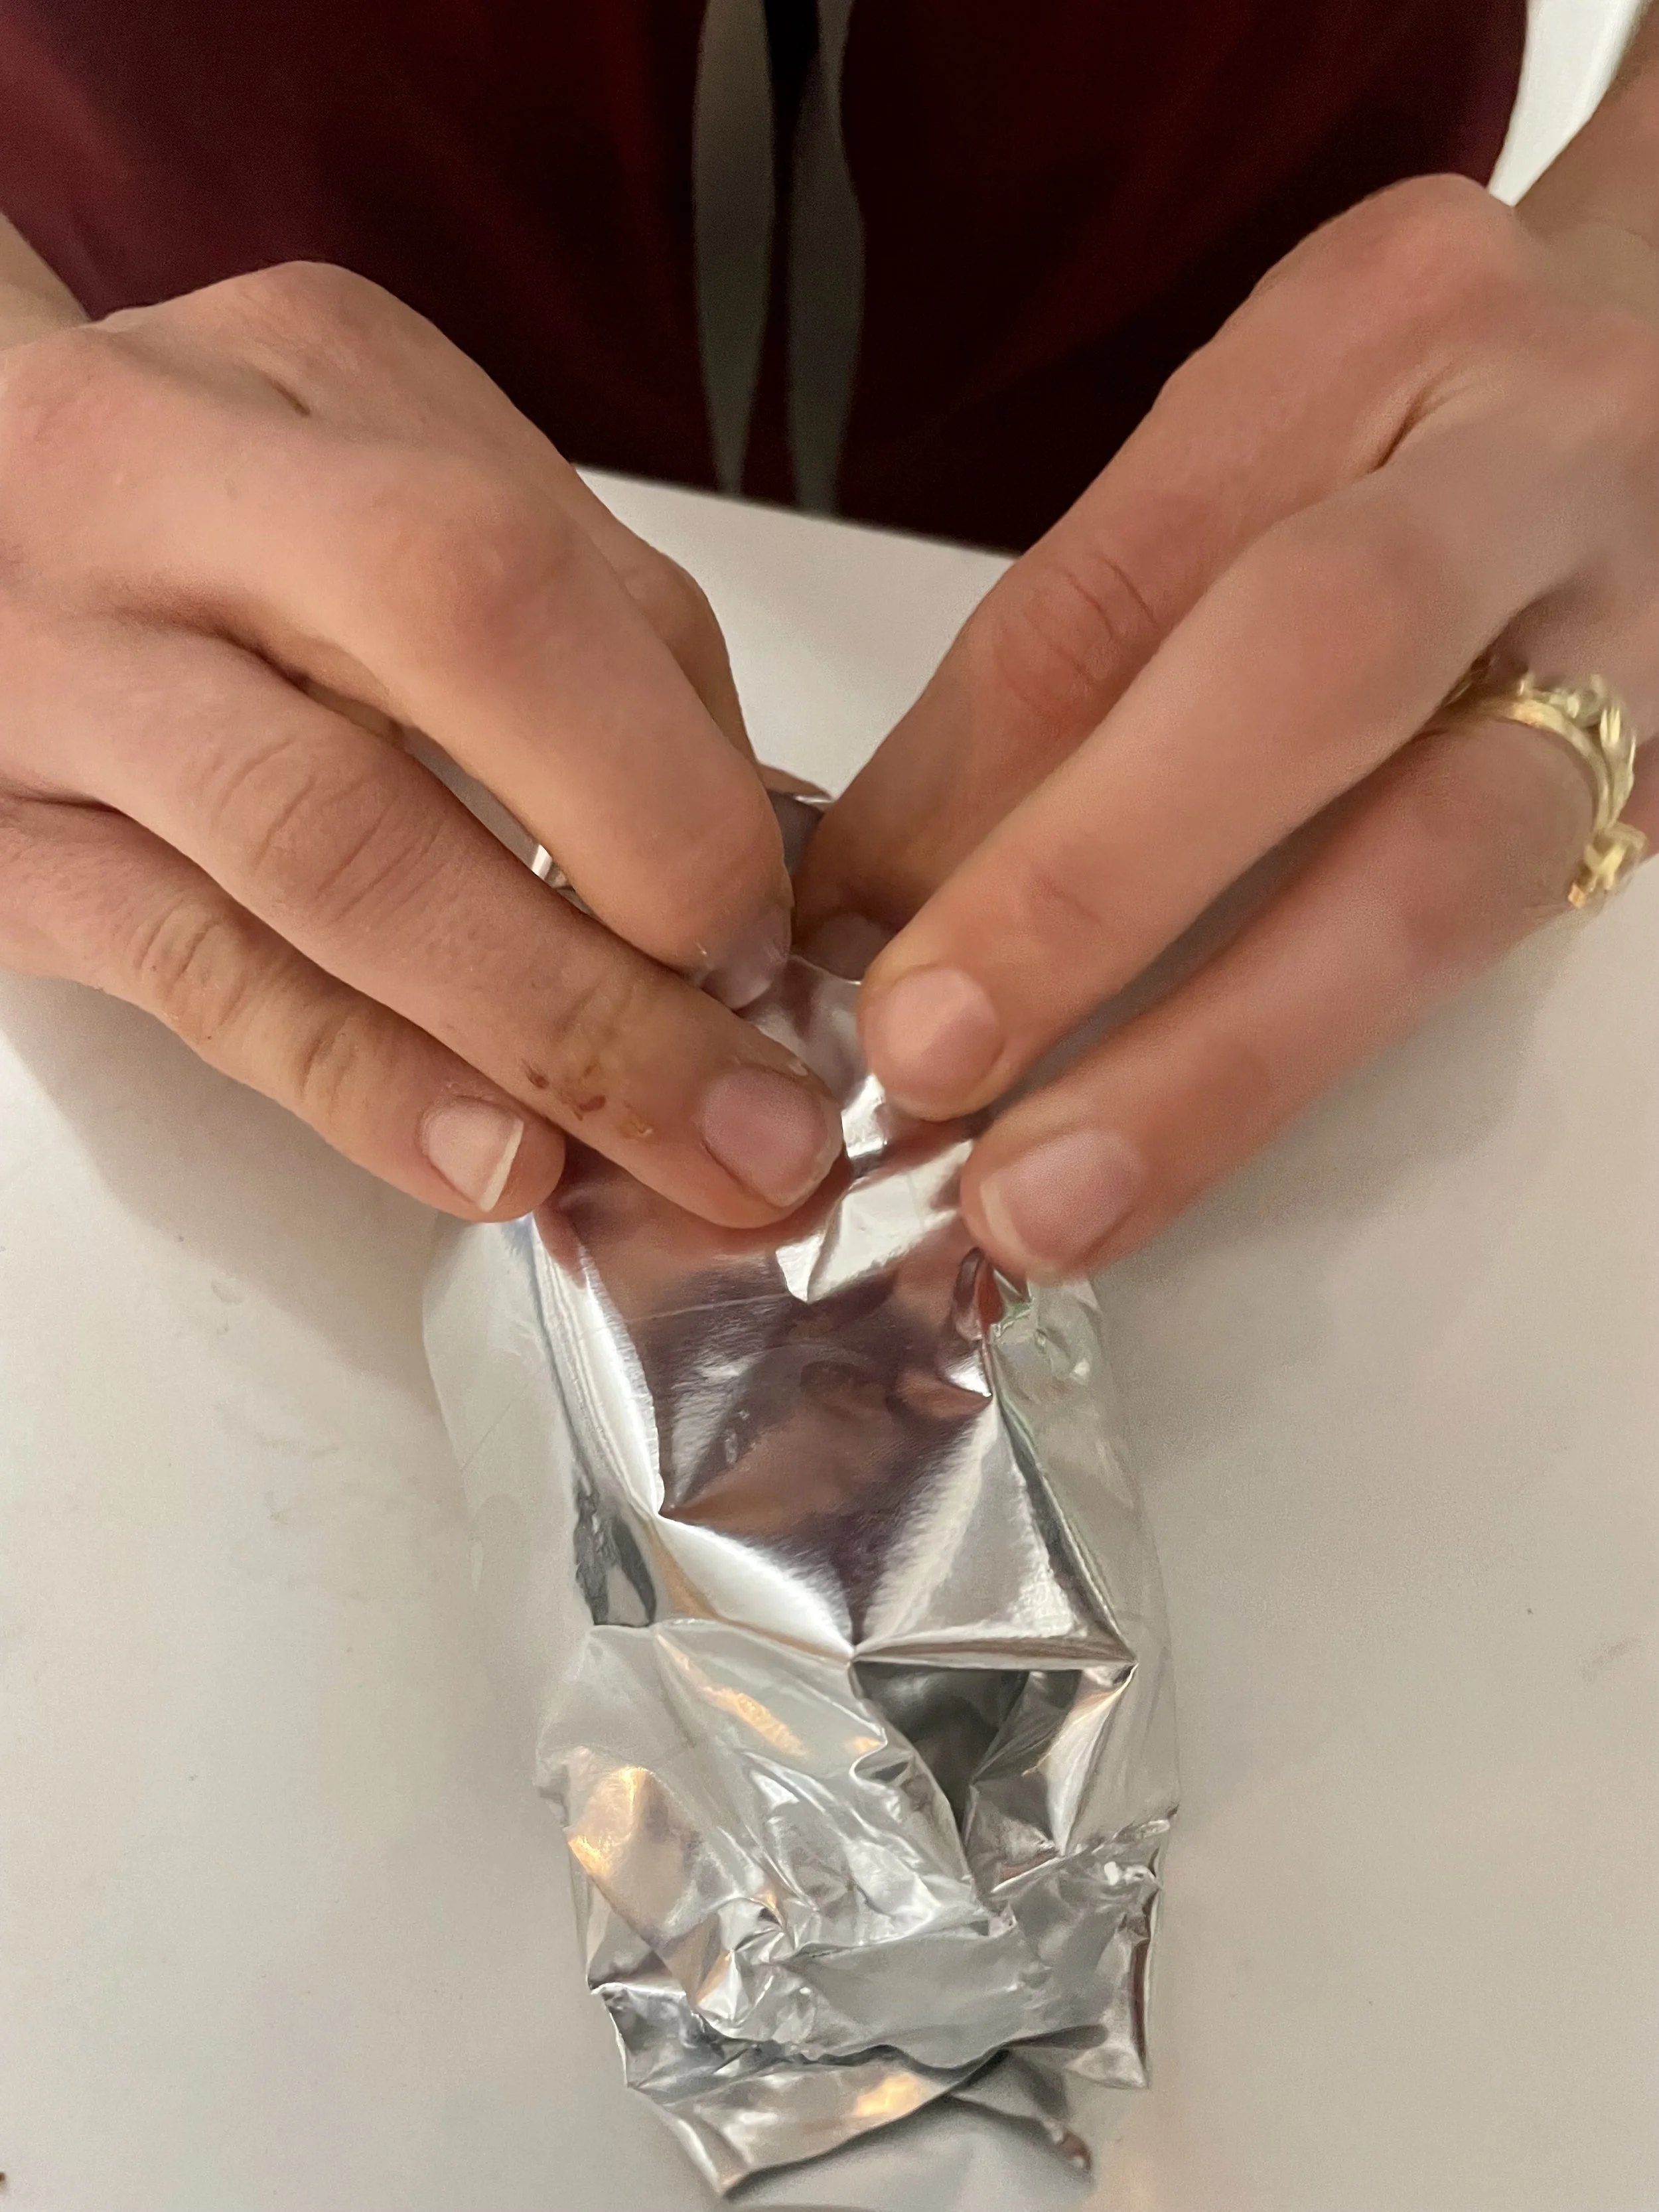
Parchment lined aluminum foil makes a primetime way to wrap your energy bars
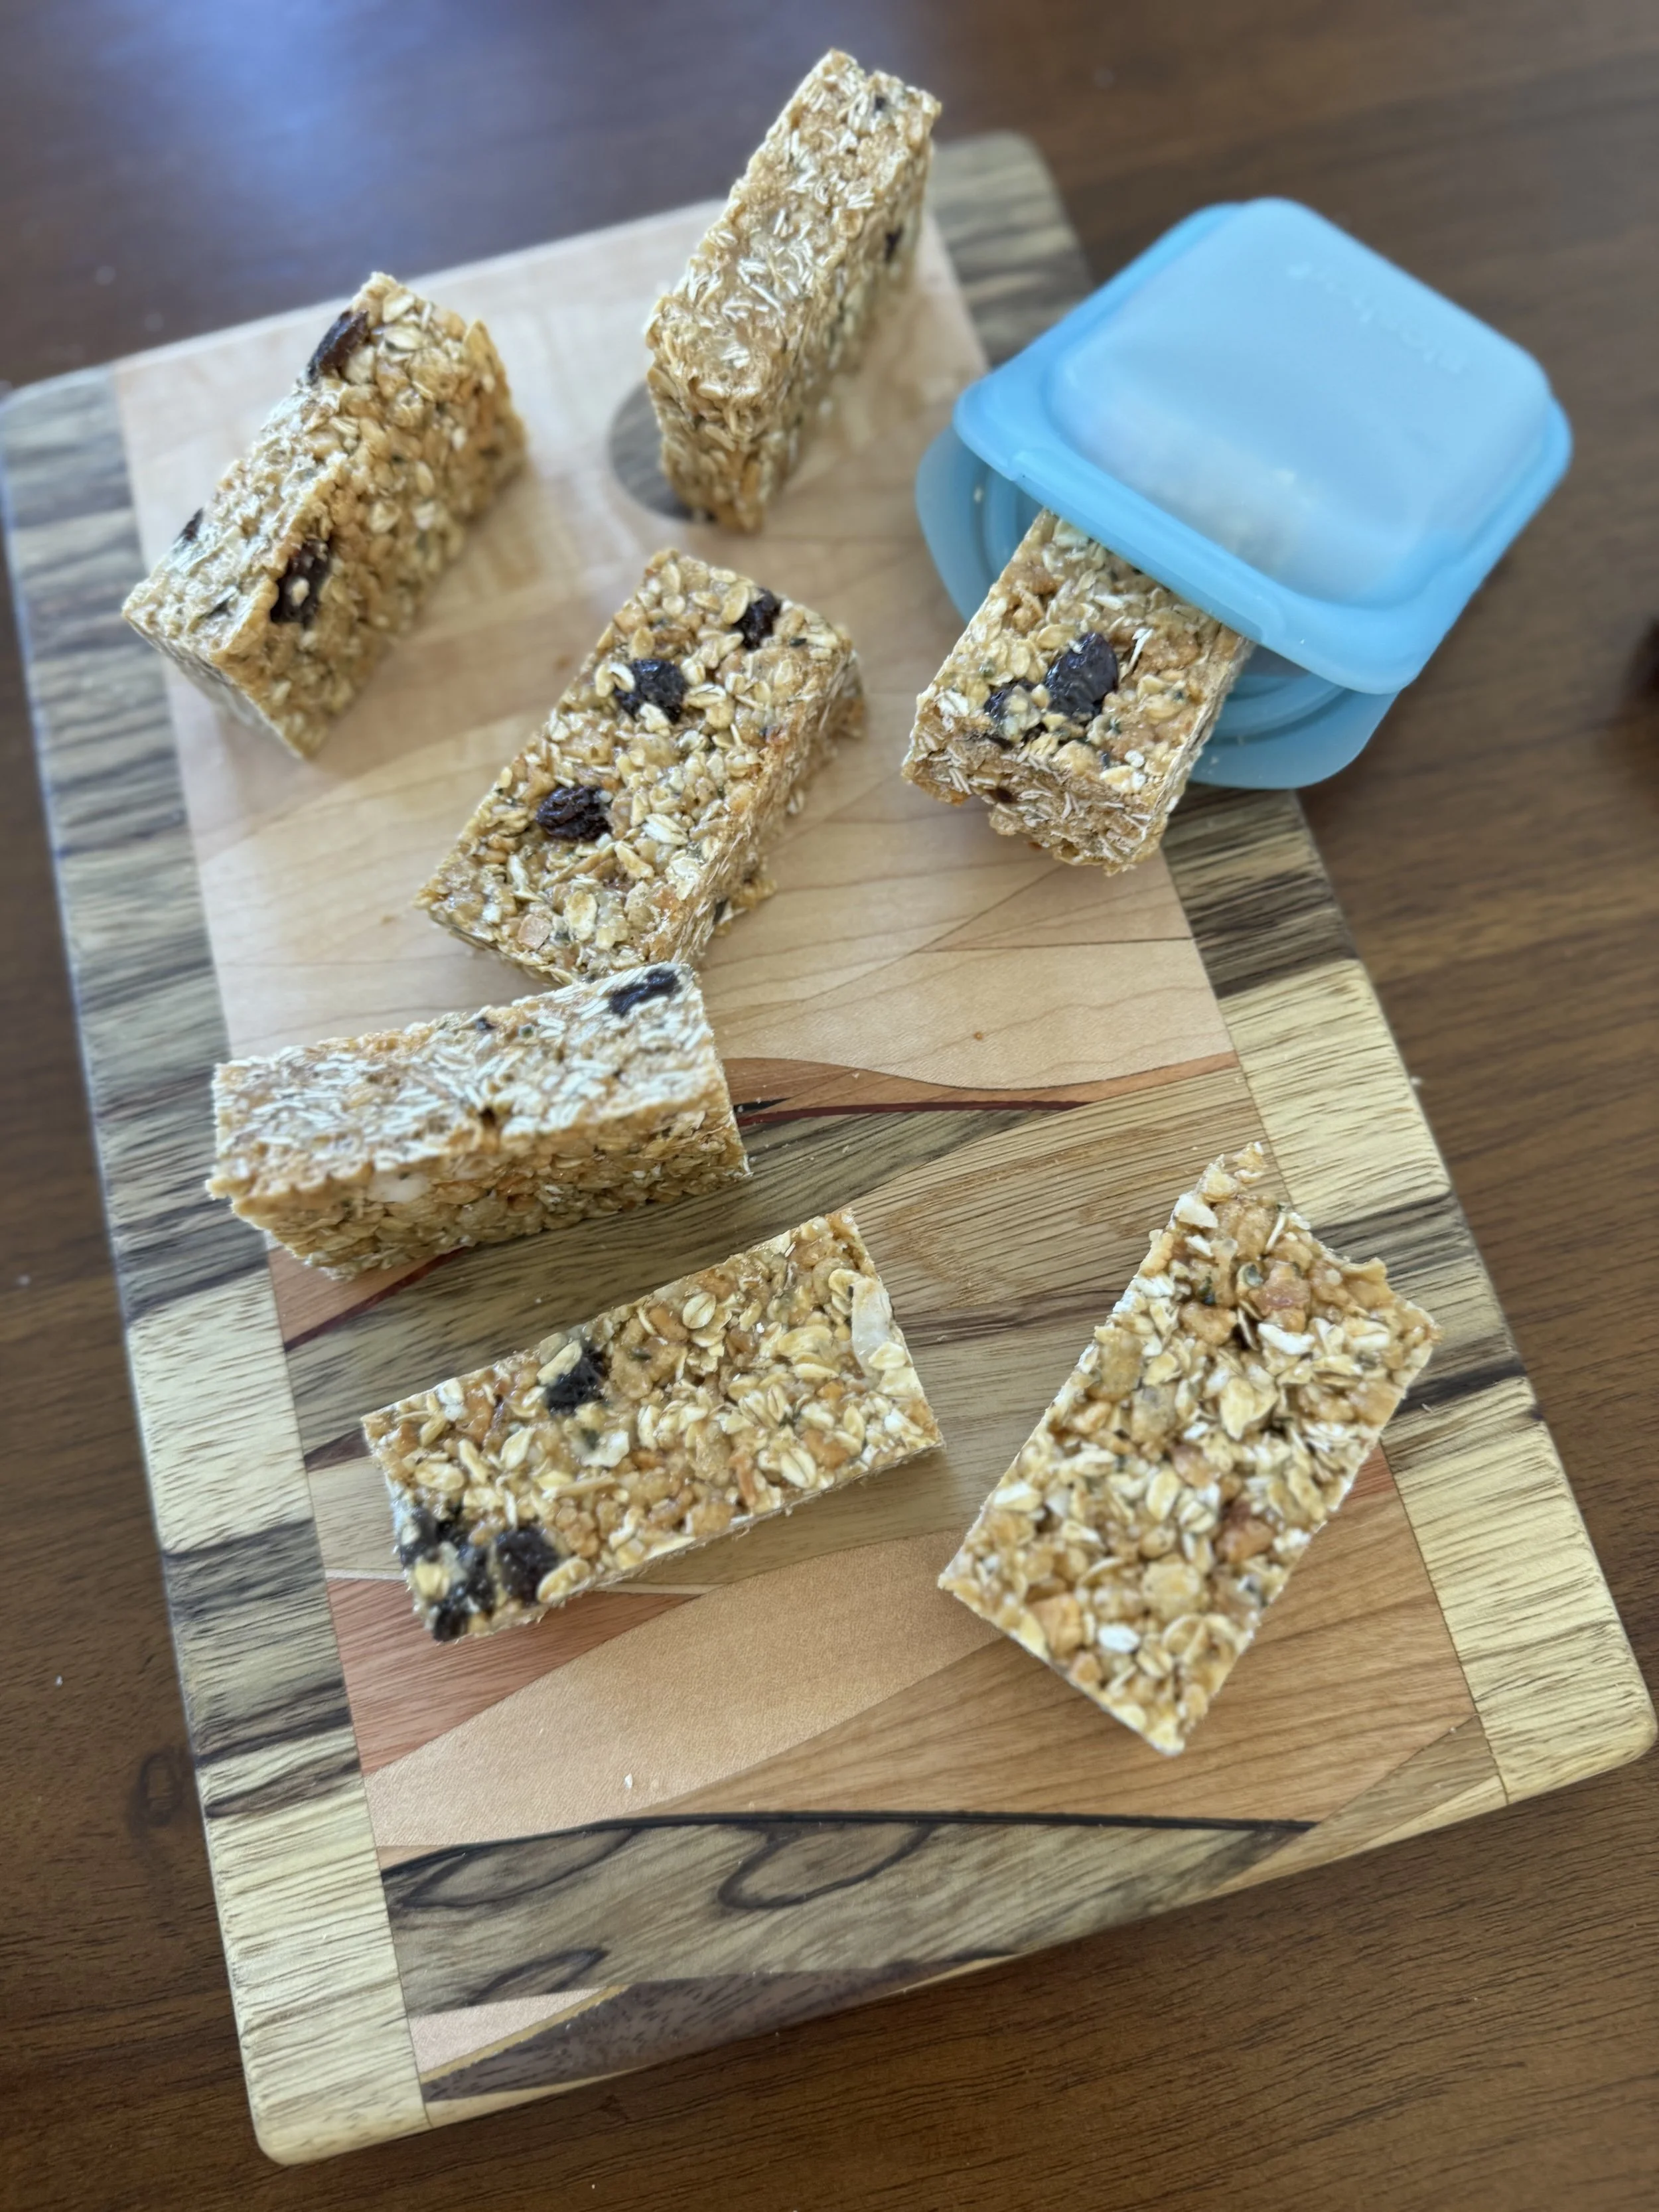
Stasher Silicone Reusable Storage Bags
Stasher Bags are Silicone Food Grade Reusable Storage Bags. They’re convenient, eco-friendly and come in handy in more than one way. I use the large-sized stasher bags to store my individually wrapped energy bars in the fridge or the freezer. When it comes to traveling and/or getting out on the trails for a ride, I often pack a snack-sized stasher bag with me and put it in my back jersey pocket or in my hip pouch.
Skratch Paper 2.0 Or SlickWrap
Skratch Paper 2.0 is a parchment-lined aluminum foil that includes a food-safe silicone to make it completely waterproof and oven safe. It has the strength of parchment paper and the shape-holding qualities of aluminum foil. It’s perfect for wrapping and protecting food while still being easy to open when you’re on the go. I always wrap my energy bars immediately after cutting them, to make it convenient to grab-n-go throughout the week. When it comes to race days and events, Skratch Paper 2.0 is the way to go when it comes to carrying your own homemade bars with you. Another option you can buy online is this SLICK Wrap, which is basically the same thing as Skratch Paper without the branding and individually cut sheets.
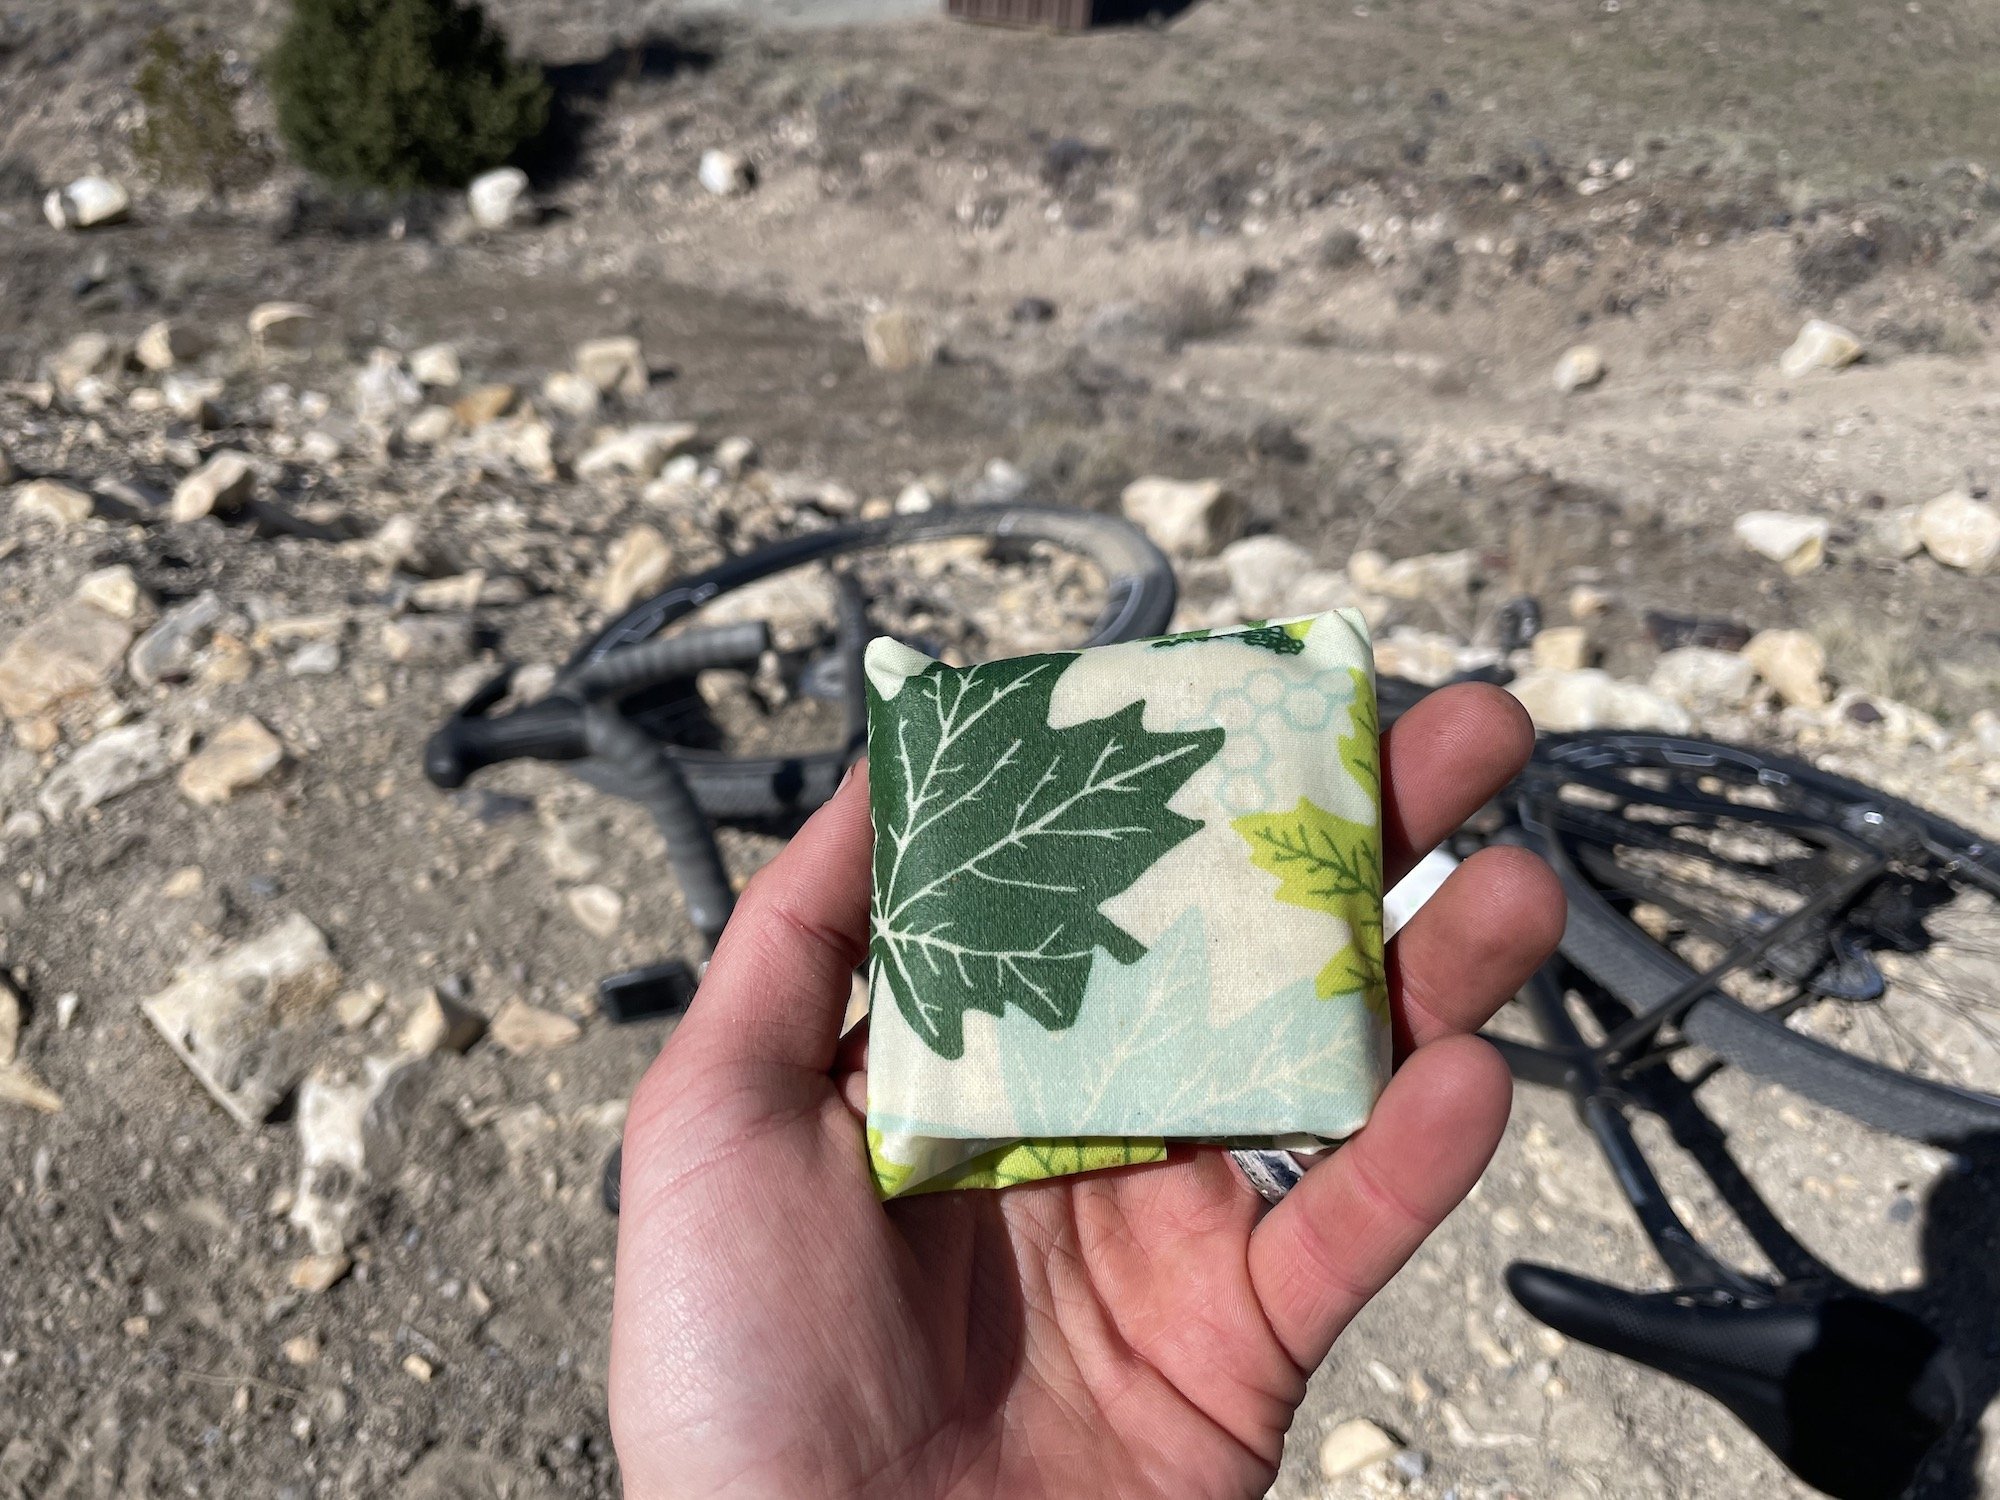
Bee’s Wrap
Another eco-friendly option to wrap and carry your homemade energy bars is Bee’s Wrap. These reusable food wraps use certified organic cotton, responsibly-sourced beeswax, certified organic plant oils, and tree resin to help eliminate single-use plastic and keep food fresh. No plastic or silicone in these wraps!
Bike Gear To Carry Your Energy Bars
Aside from my back jersey pockets, I rely on a few other pieces of gear to help carry my energy bars while I’m out riding.
The Camelbak Chase Vest is a great water + food storage pack for endurance rides and all-day adventures.
Evoc Hip Pouch 1L
The Evoc Hip Pouch is perfect for storing 1-2 wrapped bars during a 2-3 hour ride. It’s just the right size for fitting a snack-sized stasher bag inside as well if you want to give your energy bars a little extra protection.
Revelate Designs Top Tube Bag
The Revelate Designs Top Tube Bag is my go-to race day food storage option for long endurance events. The magnetic buckle strap makes it easy to grab out of without worrying about trying to re-strap it while you’re riding. Fits about 4-6 wrapped bars depending on the size!
Chase Bike Vest
For long-day adventures in the saddle, the Chase Bike Vest has optimal storage for water and carrying your food. It has a snug fit to your body that some riders prefer, especially while riding on chunky gravel or singletrack.
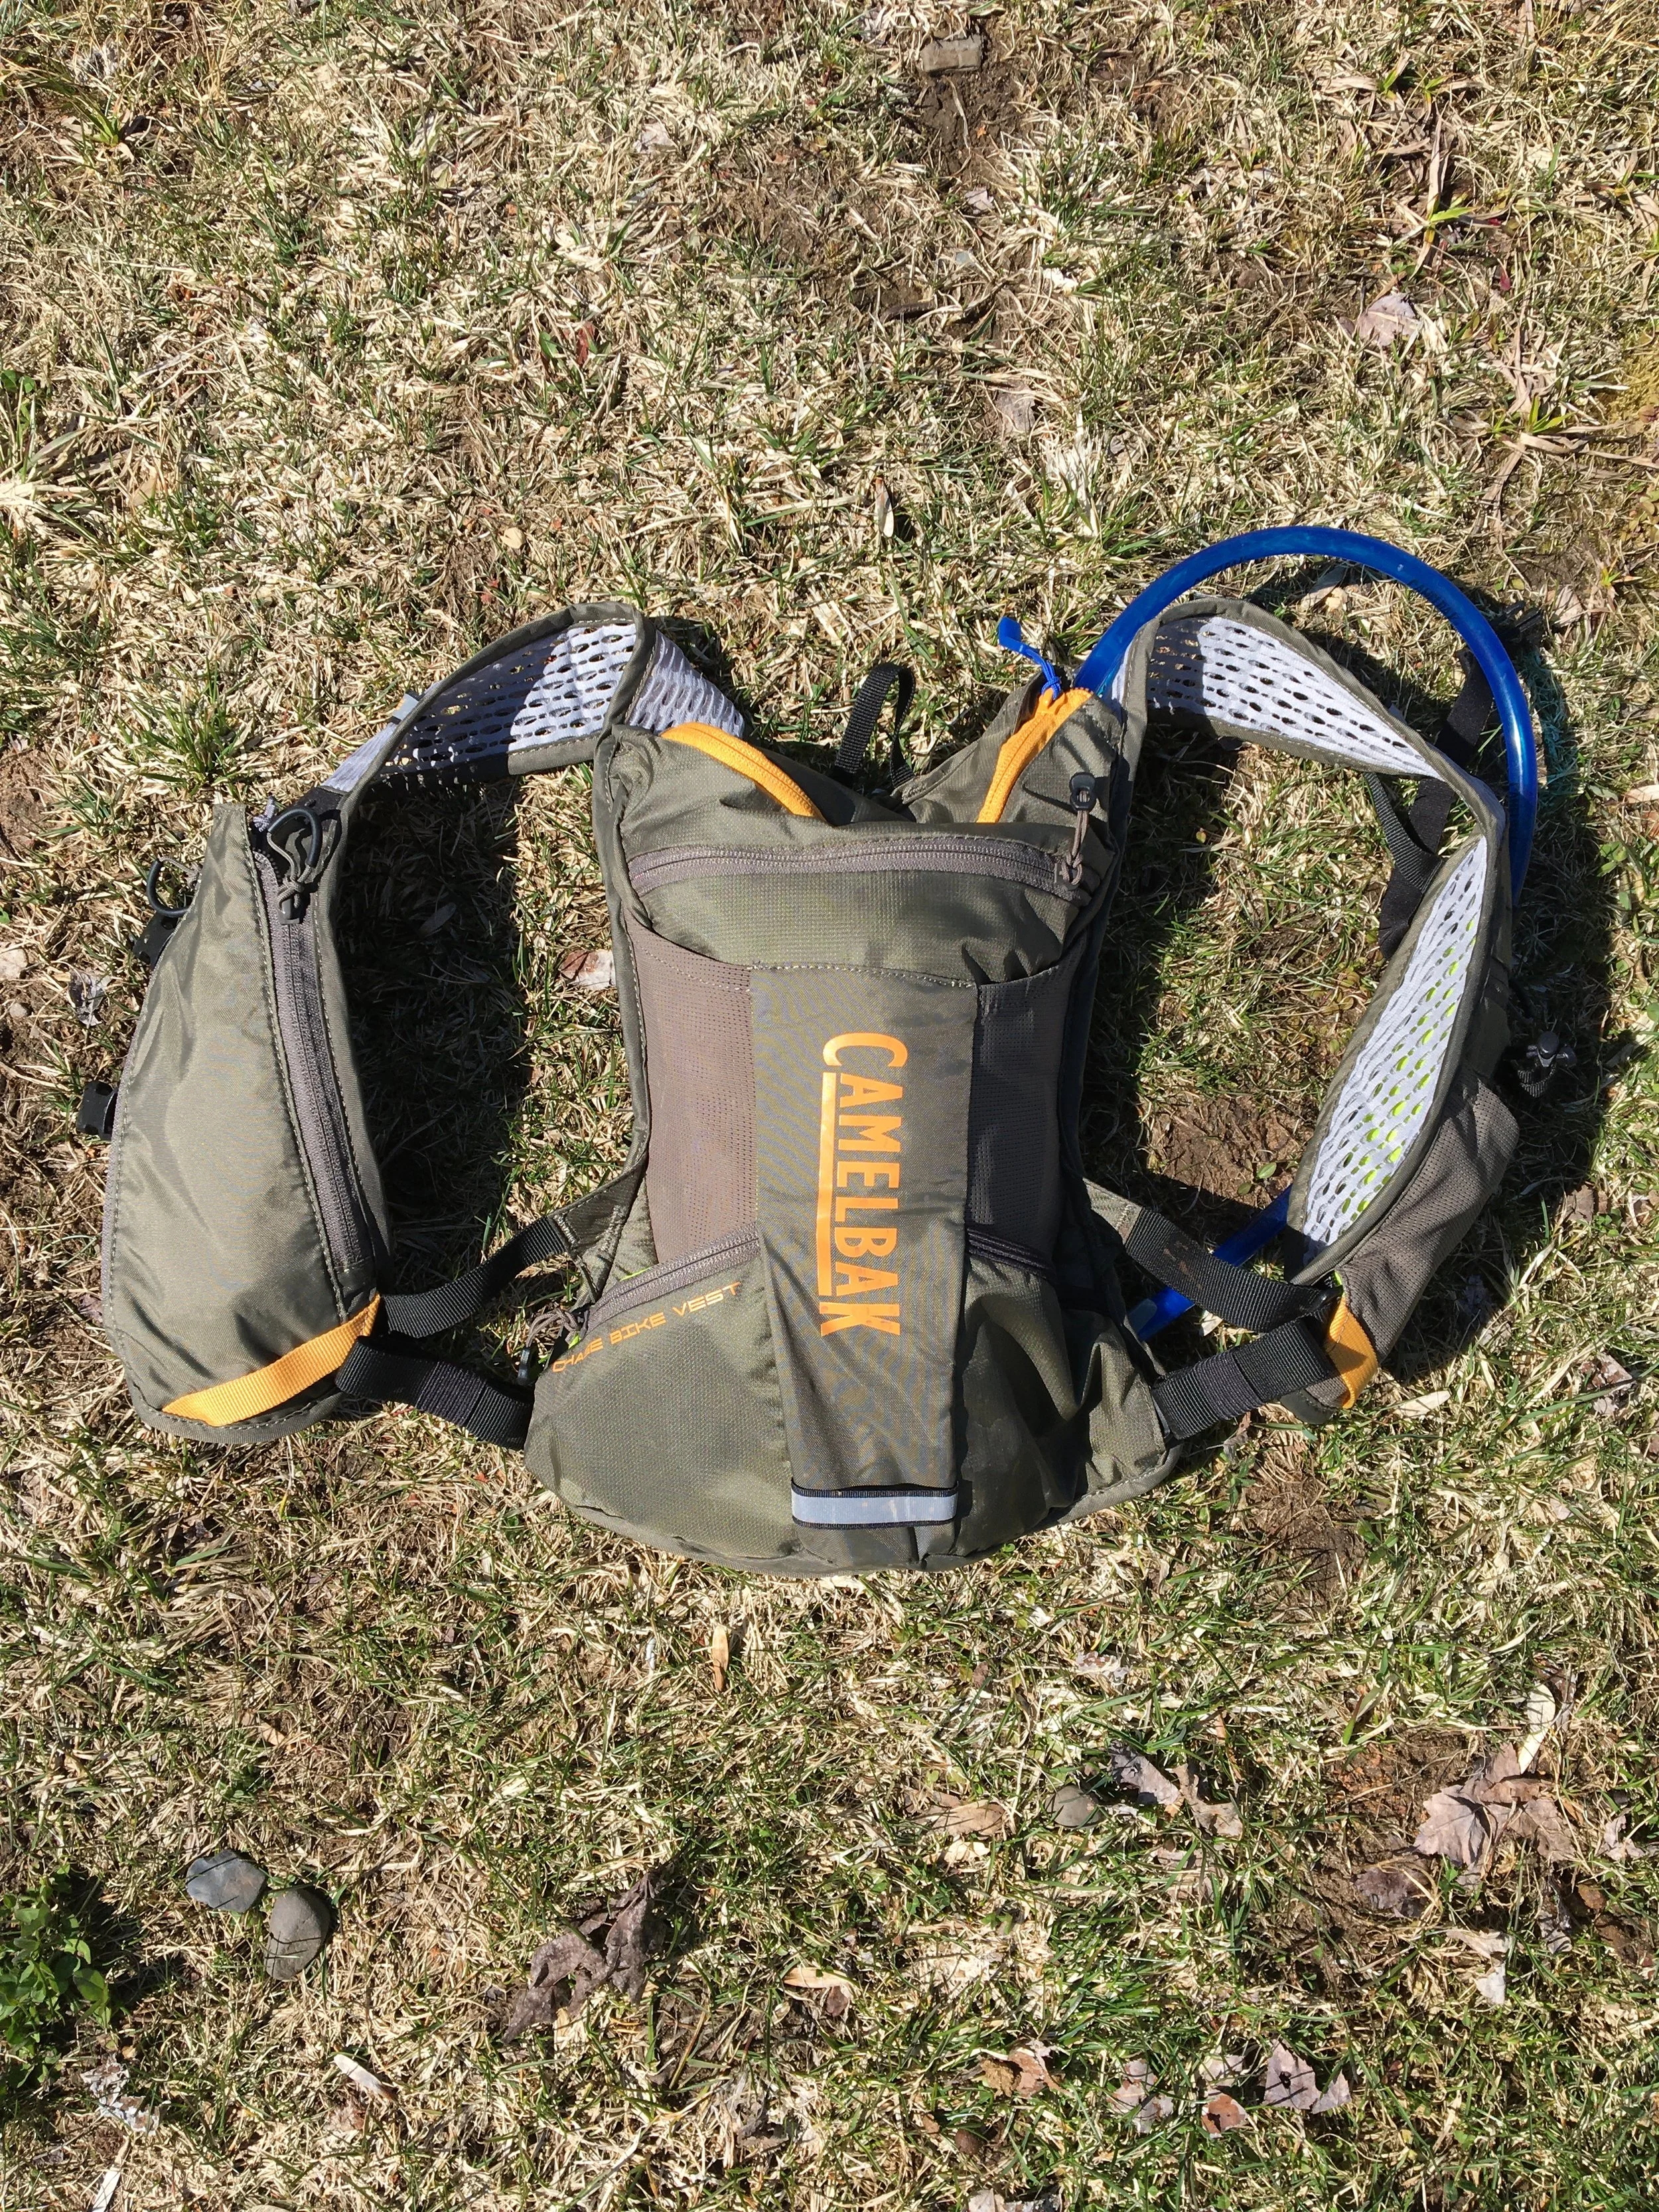
The Camelbak Chase Vest is a great water + food storage pack for endurance rides and all-day adventures.
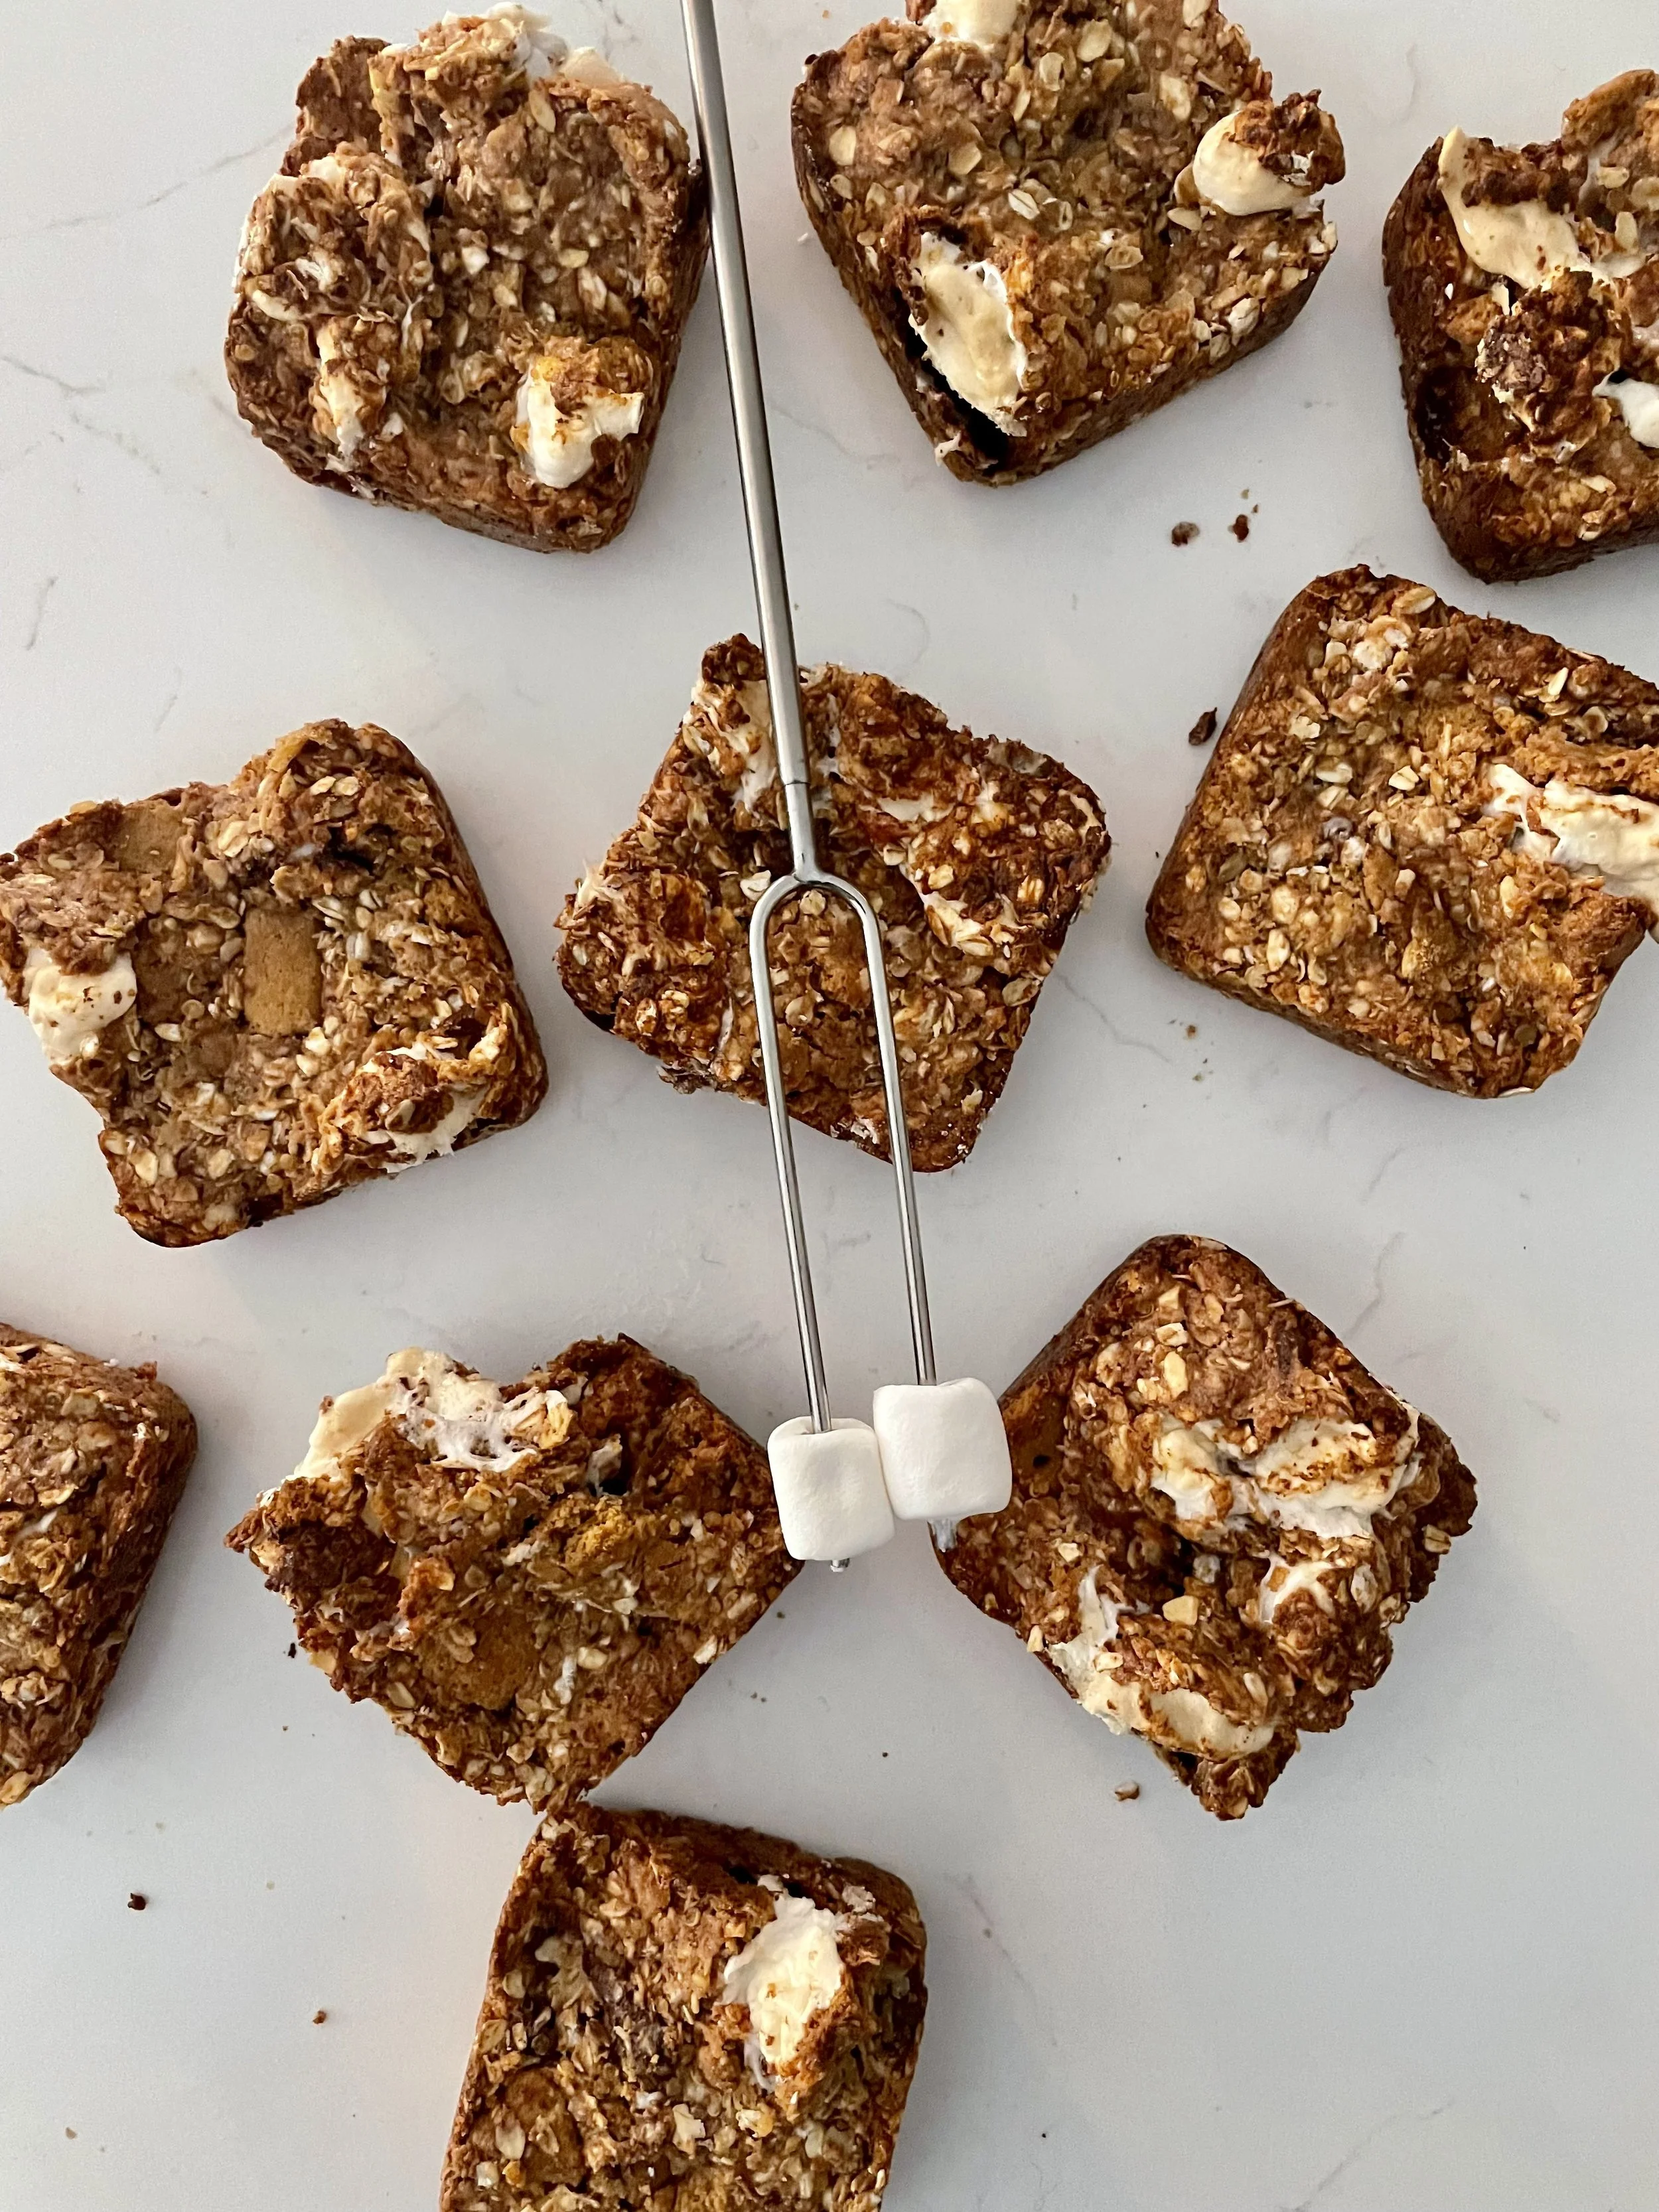
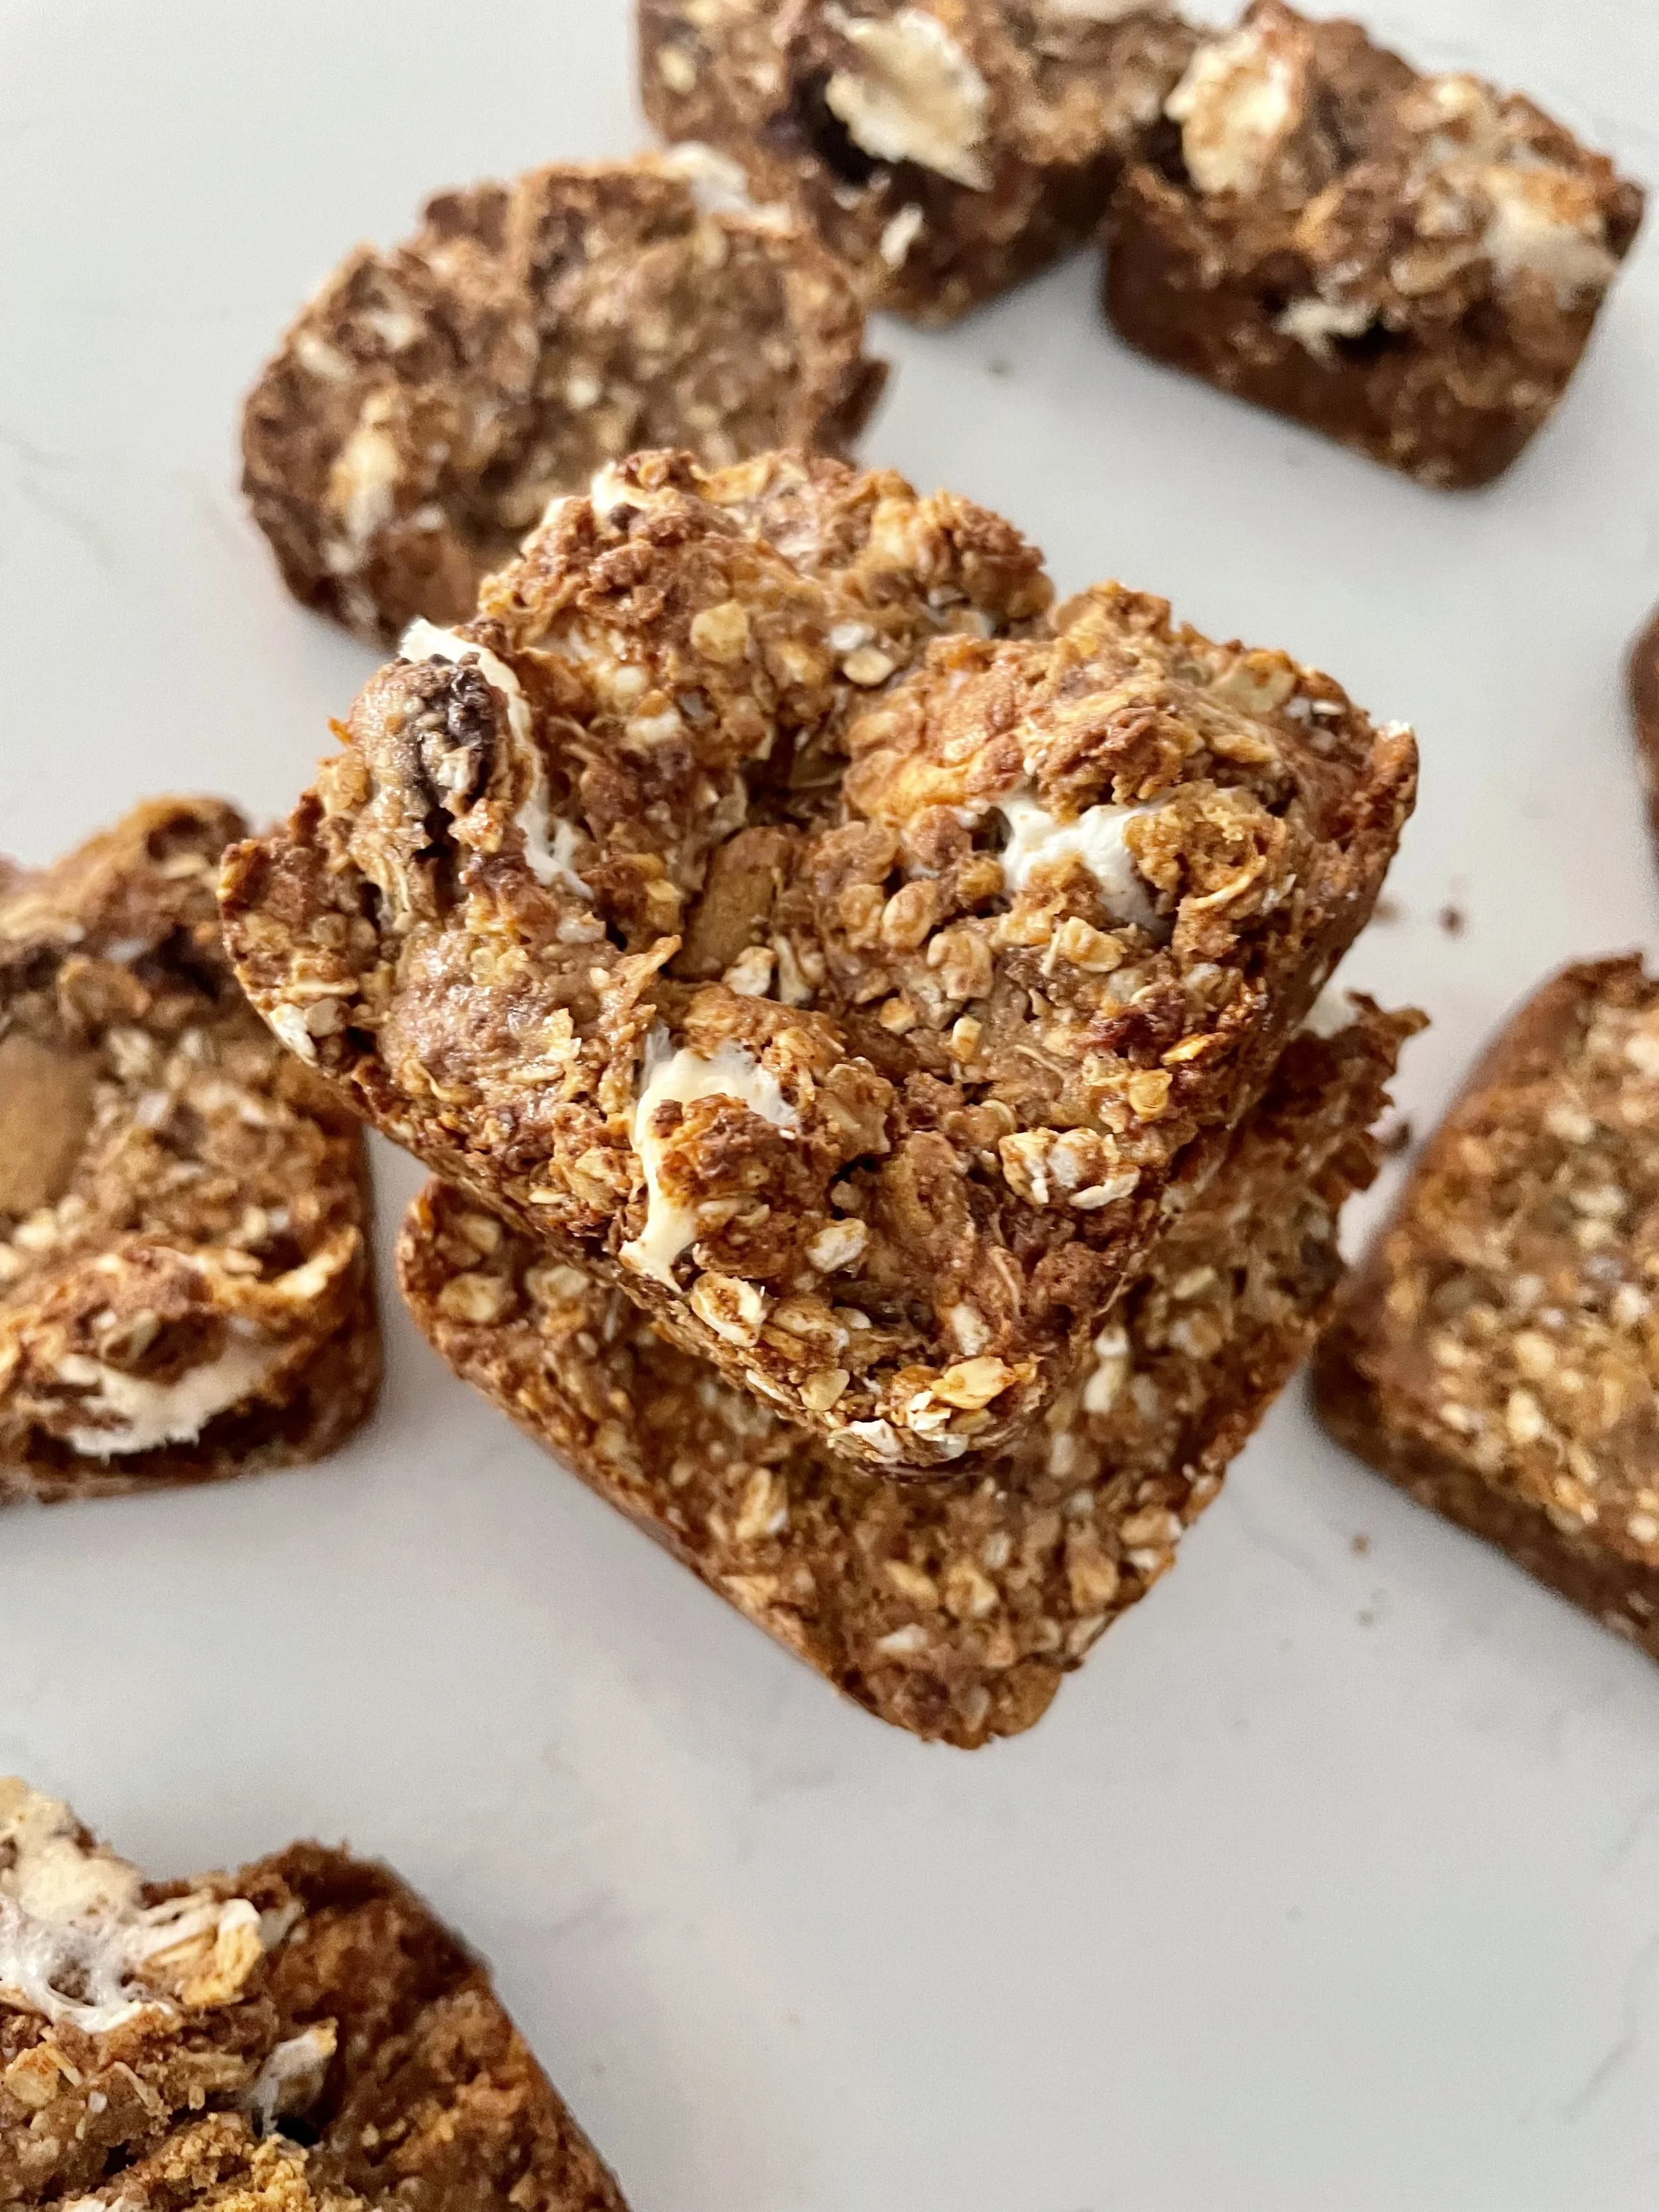
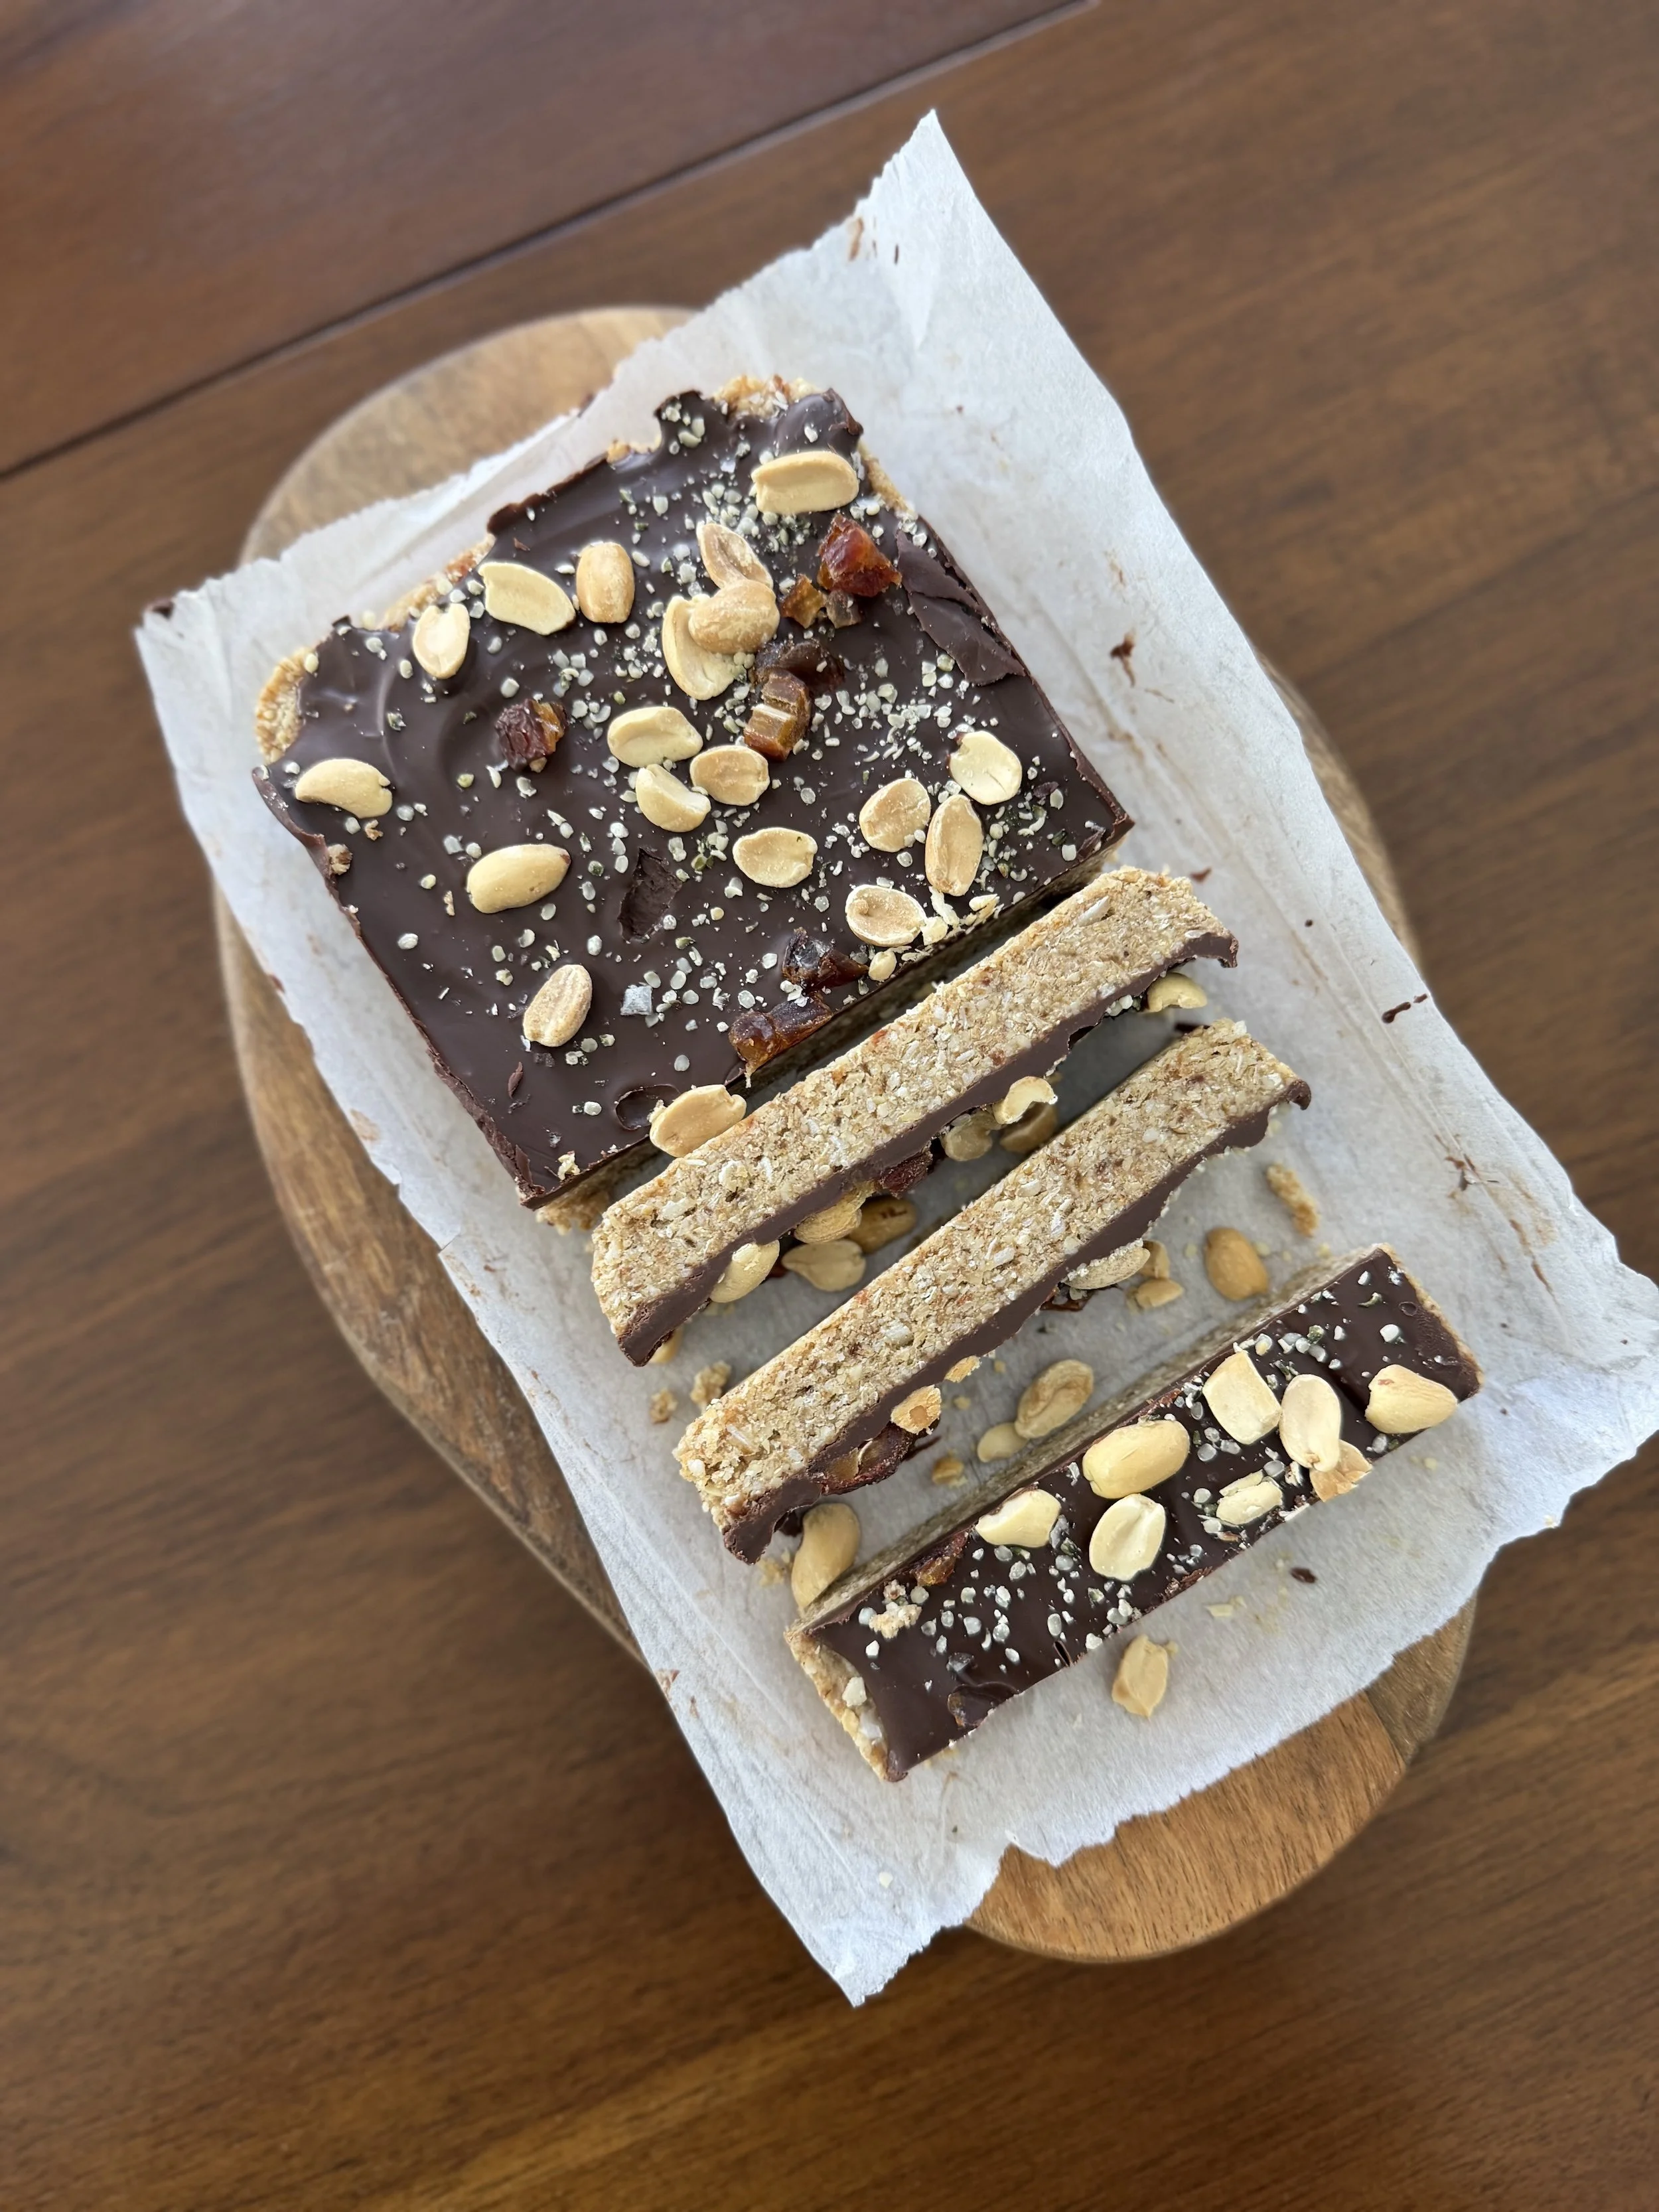
Salted Caramel S'mores Energy Bar Recipe
And now the best for last. Putting all the pieces together with my own version of a homemade energy bar. This recipe for me is a little nostalgic. It reminds me of camping with family and friends in the summer, hanging around the fire and enjoying one another’s company. This energy bar recipe is also multi-purpose. It contains simple and complex carbs in the base and binder, plus a few added texture ingredients to give you a sweet, chewy, and crunchy energy bar.
This recipe could be used for races, long-endurance events or a bikepacking trip.
For a more race-oriented bar, you can reduce or exclude the chocolate, and use the rice crisps vs rolled oats since the GI of the rice cereal is a bit higher.
If it’s a longer, less-intense race or event you could use either the rice crispy or oats in your base depending on preference. Adding in a little nut butter can also help up the protein content a bit to keep you full for longer.
And if you're using these bars for an everyday trail snack or bikepacking trip while slaying some singletrack with friends, feel free to add in as much chocolate and nut butter as you’d like ;)
Ingredients
Binder
10-12 Medjool dates, pitted (depending on size)
1/4 cup maple syrup
2 Tbsp coconut oil, melted and/or water as needed
1-2 Tbsp nut butter (optional)
Base
1 cup quick rolled oats OR 3 cups brown rice crisp cereal
1 cup crushed graham crackers
1/4 cup cooked quinoa
1/2 cup mini marshmallows
Add-ins
1.5 oz dark chocolate, chopped or 1/4 cup dark chocolate chips (optional)
1/4 tsp sea salt
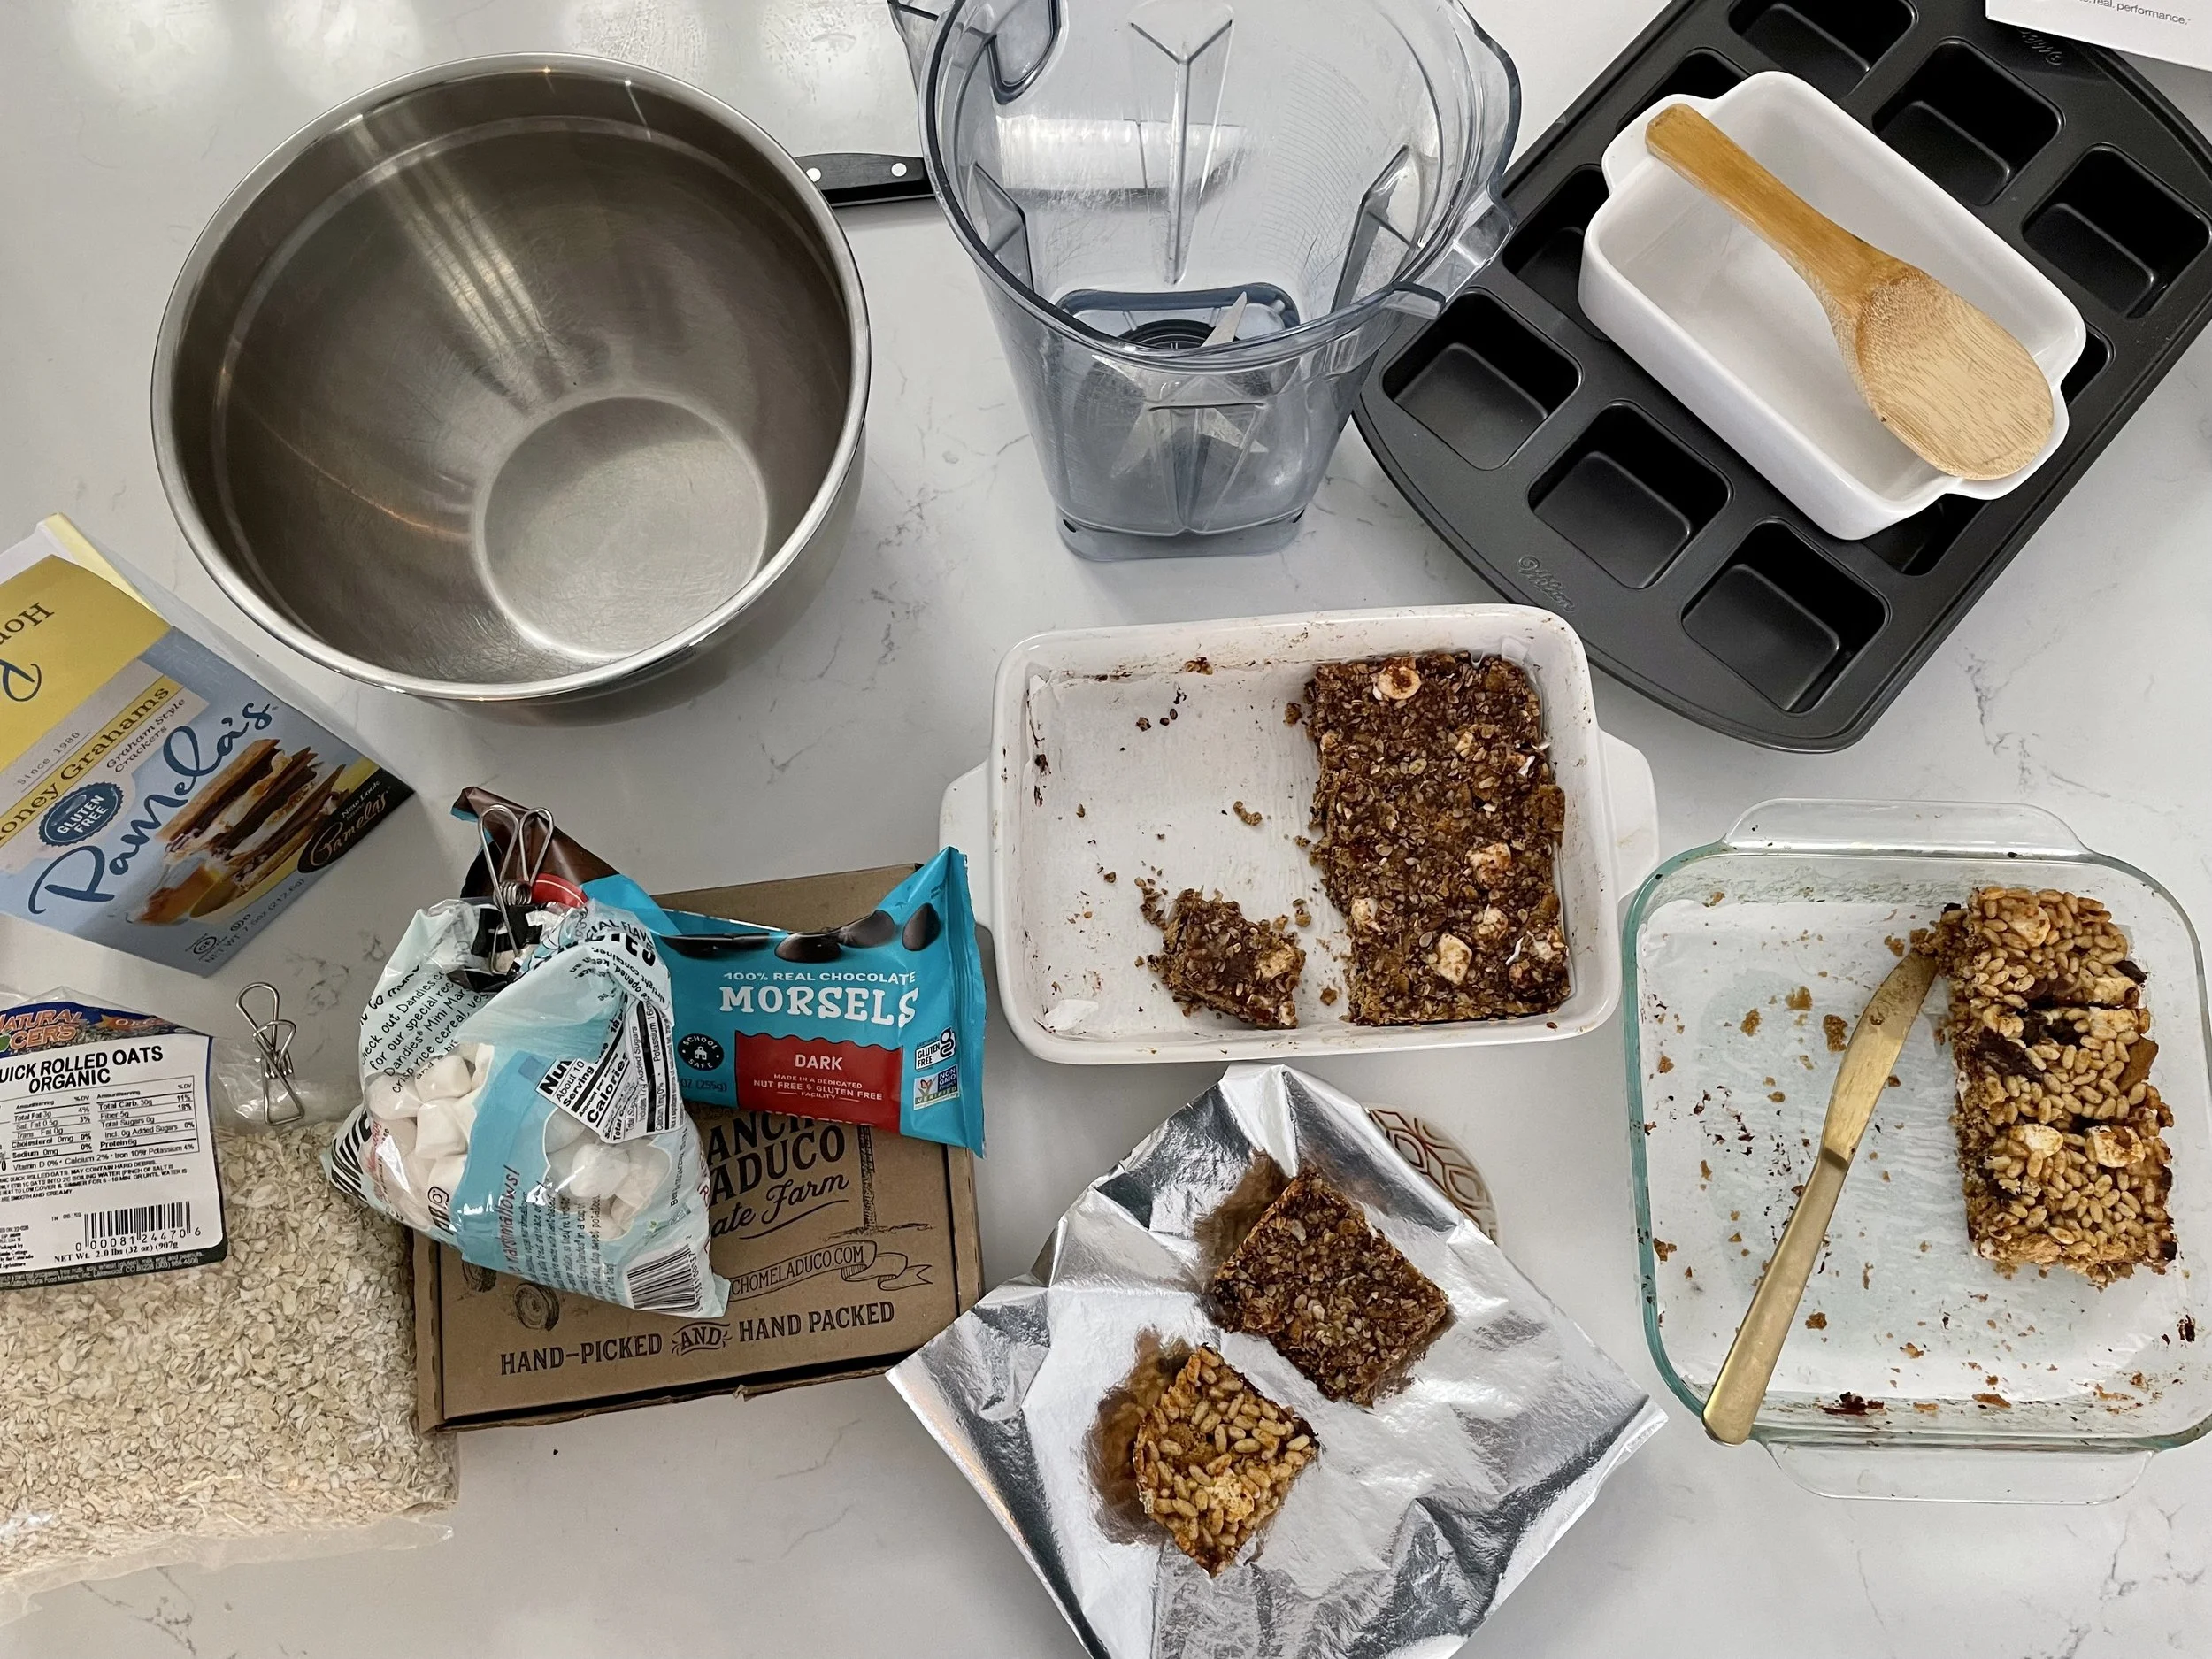
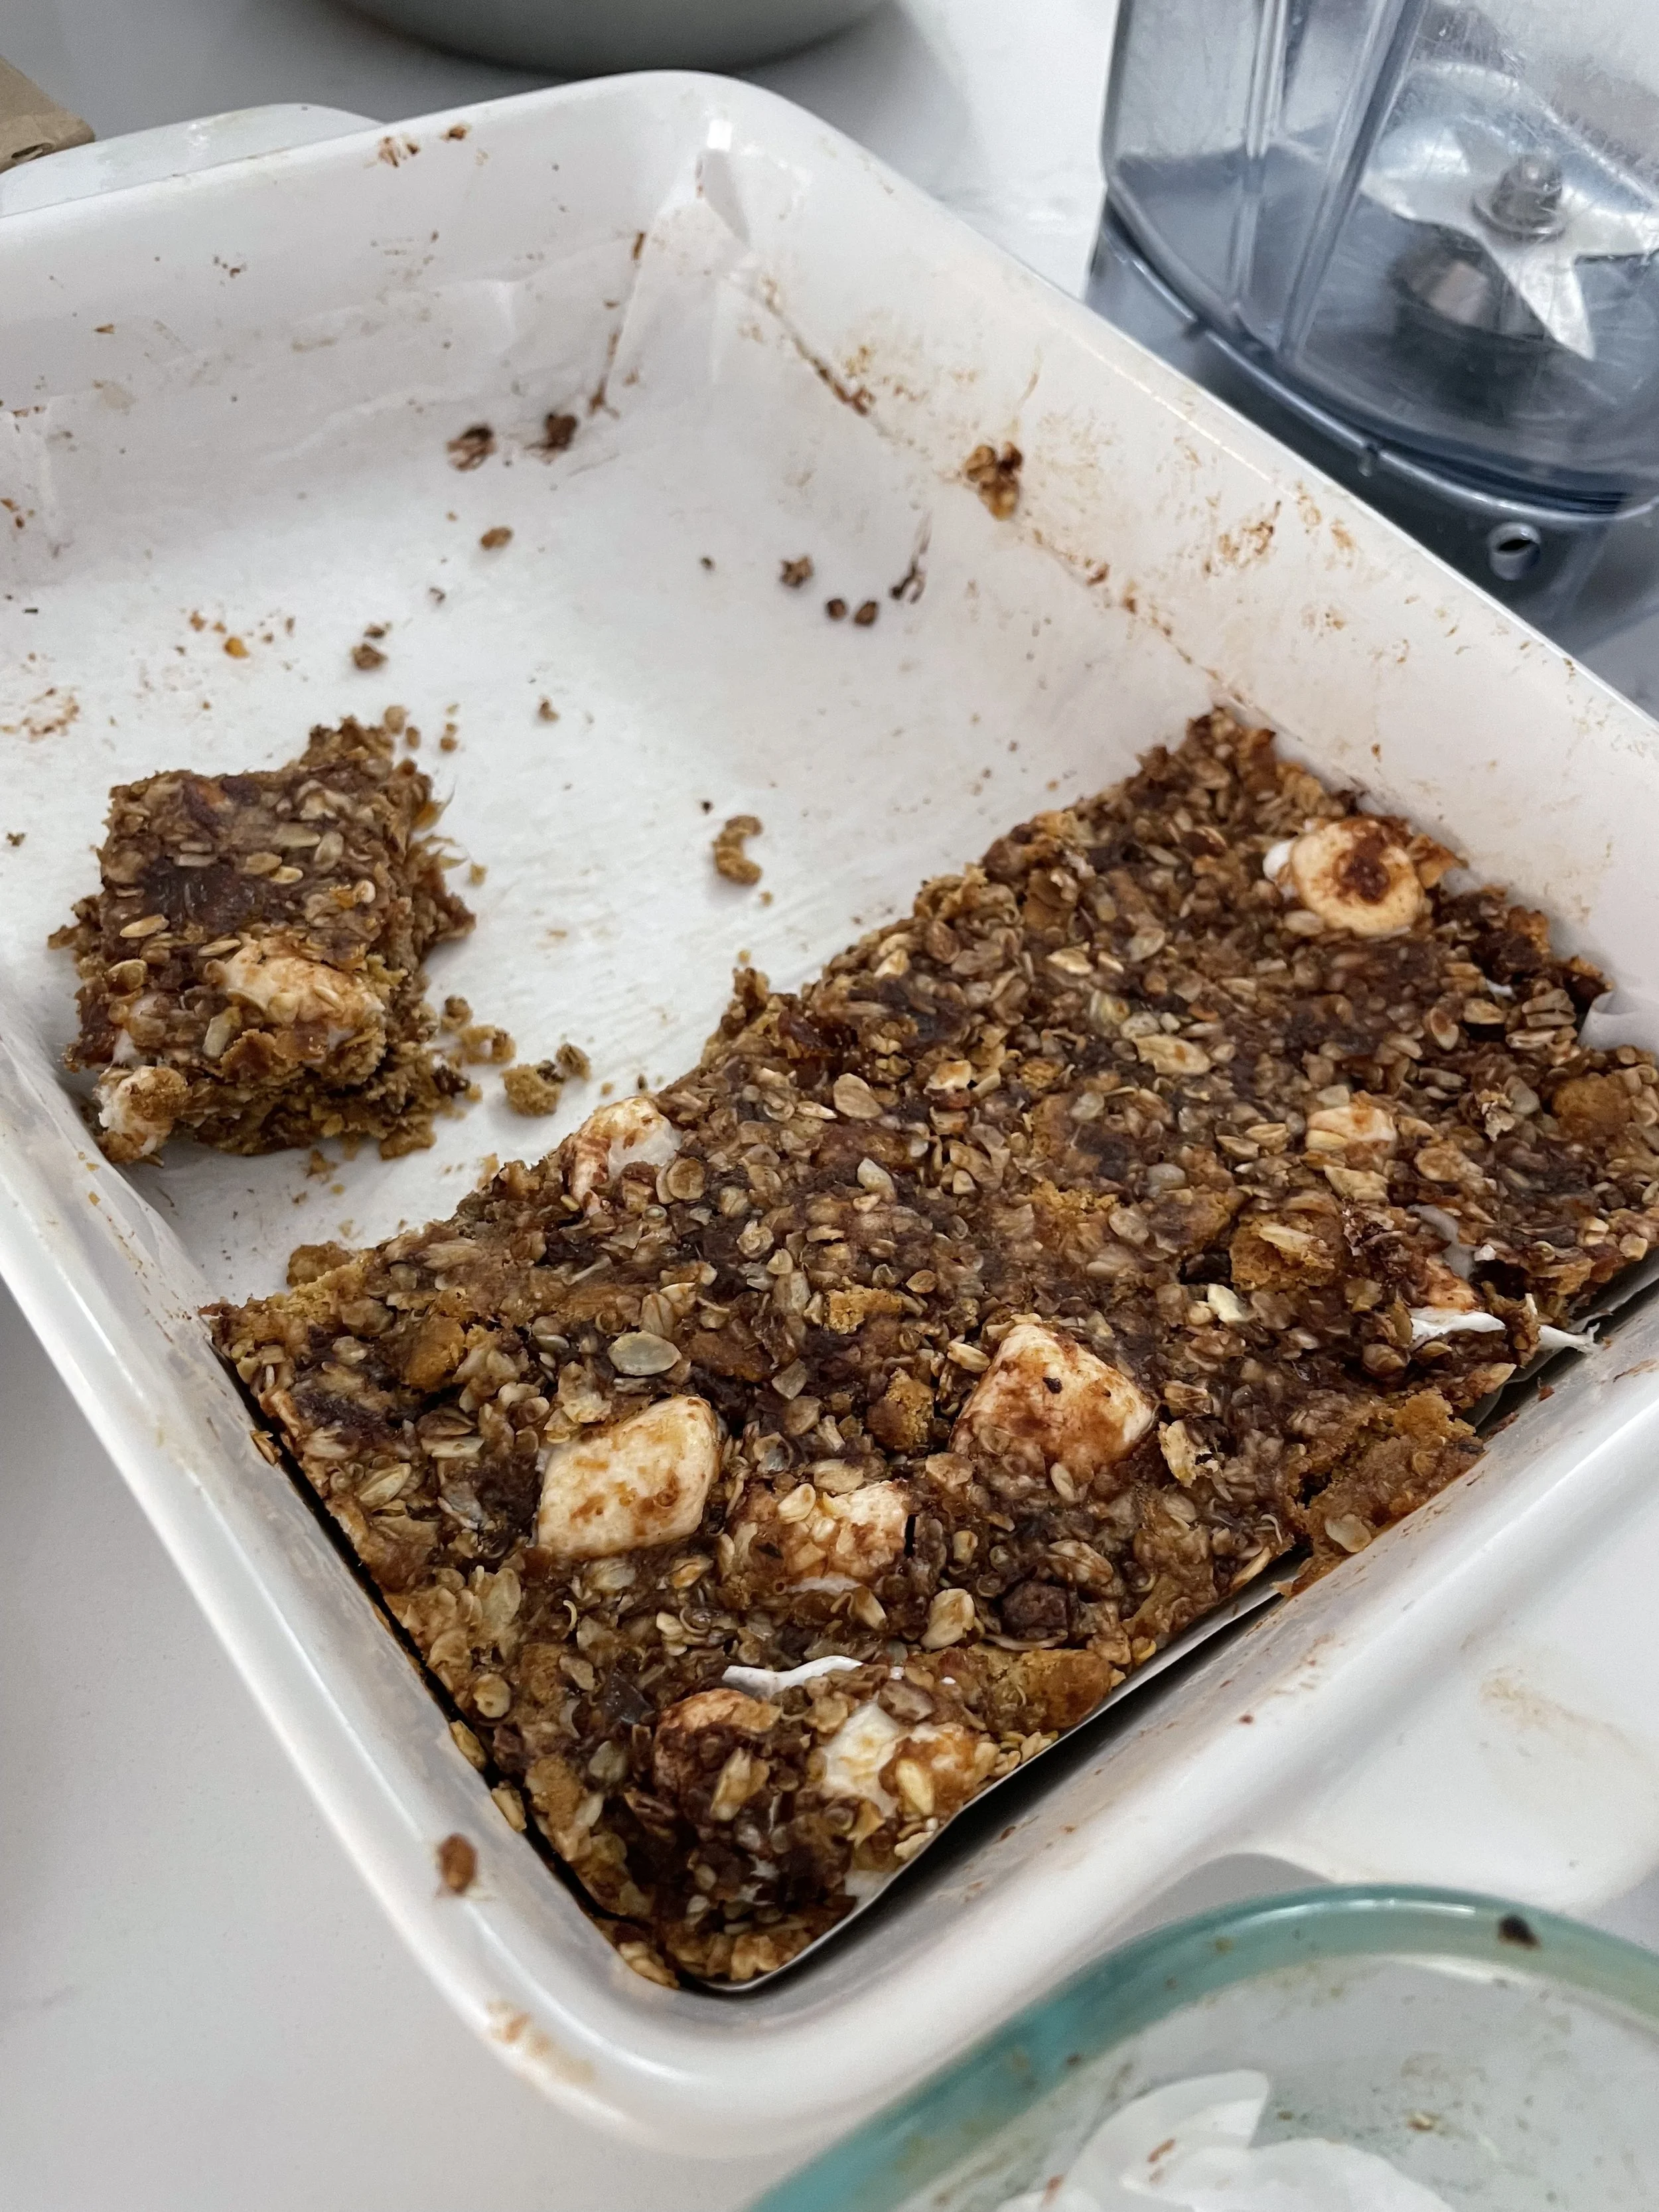
Baker’s: Tip: I baked two batches of these bars using oats as the base. One used 2-3 Tbsp water and one used 2 Tbsp of coconut oil and 2 Tbsp of peanut butter. Using only water, the bars came out chewier and more cohesive. The coconut oil and peanut butter version came out a bit more crunchy and crispy. (Those are what you see below in the photo)
Directions
Preheat the oven to 350°F.
Place dates, maple syrup, melted coconut oil/water and salt into a food processor or high-speed blender. Let it all soak for 5 minutes, then process until smooth. (Add water 1 Tbsp at a time if needed to reach desired consistency)
In a large mixing bowl, add the oats or rice crisps, graham crackers, cooked quinoa marshmallows, dark chocolate and the binding mixture. Pour the binding mixture into the dry ingredient bowl. Mix well with a spoon until all the dry ingredients are completely covered.
Line or grease an 8x8inch baking pan, mini bar pan or baking dish (depending on the size and shape you’d like) Spread the energy bar mixture evenly into the pan, then press down firmly and thoroughly with a rice paddle or bottom of a glass. You can also put a layer of parchment paper over the top of your bars to press them down so it doesn’t stick to your hand or paddle
Bake for 15-20 minutes. Cool completely, then remove from the pan and cut into 8-12 bars.
To make these portable, wrap them in Skratch Paper 2.0 or Bee’s Wrap, or a Stasher Bag, then throw them in your pack or jersey pocket and go get some!
*Makes 8-12 bars
Baker’s Tip
If using oats in your recipe, toast them over medium heat in a skillet until golden brown, about 5 minutes. Stir frequently to ensure even toasting and to prevent them from burning. This will give them that nutty, toasty, campfire-like taste!
More Energy Bar Recipes
The Ultimate List Of 25 Energy Bar Recipes for Cyclists on the Biked Goods blog.
More energy bar recipes are posted in the Bakin’ Bikers Club members area and can be found below.
Join the Bakin’ Bikers Club
The Bakin’ Bikers Club is a community for cyclists, foodies, and adventurers looking for a transformative experience in the kitchen and on the bike. Sign up for free to get exclusive recipes, nutritional resources and a supportive community to help fuel your performance on and off the bike.